
Backup Digital Ocean with Veeam Agent for Linux

Digital Ocean provide a fairly basic point in time snapshot backup function with their service which works great, I have rolled back to a couple of droplets before and it has worked very time.
But what about when you want something a little more configurable and also “offsite”, not to mention we could look at some different recovery (to another IaaS platform) options in the future if required - Veeam Agent for Linux + Veeam Cloud Connect can help us with this.
Note that I am opting for a Cloud Connect tenant but you could easily write the data locally and have a cron job move the data offsite sftp/s3 etc. There are lots of destination options.
You will need;
- Linux Machine I am running a Ubuntu 18.04.2 LTS via a Digital Ocean Droplet
- Cloud Connect Tenant I have provisioned this ahead of time at vBridge - the cloud provider I work for
- License for the Veeam Agent
Note: You have a number of install options depending on your Linux flavour and / or if you have internet access or need to do a offline install. Check out the official user guide for version 5.0.
Install Repository Install Package
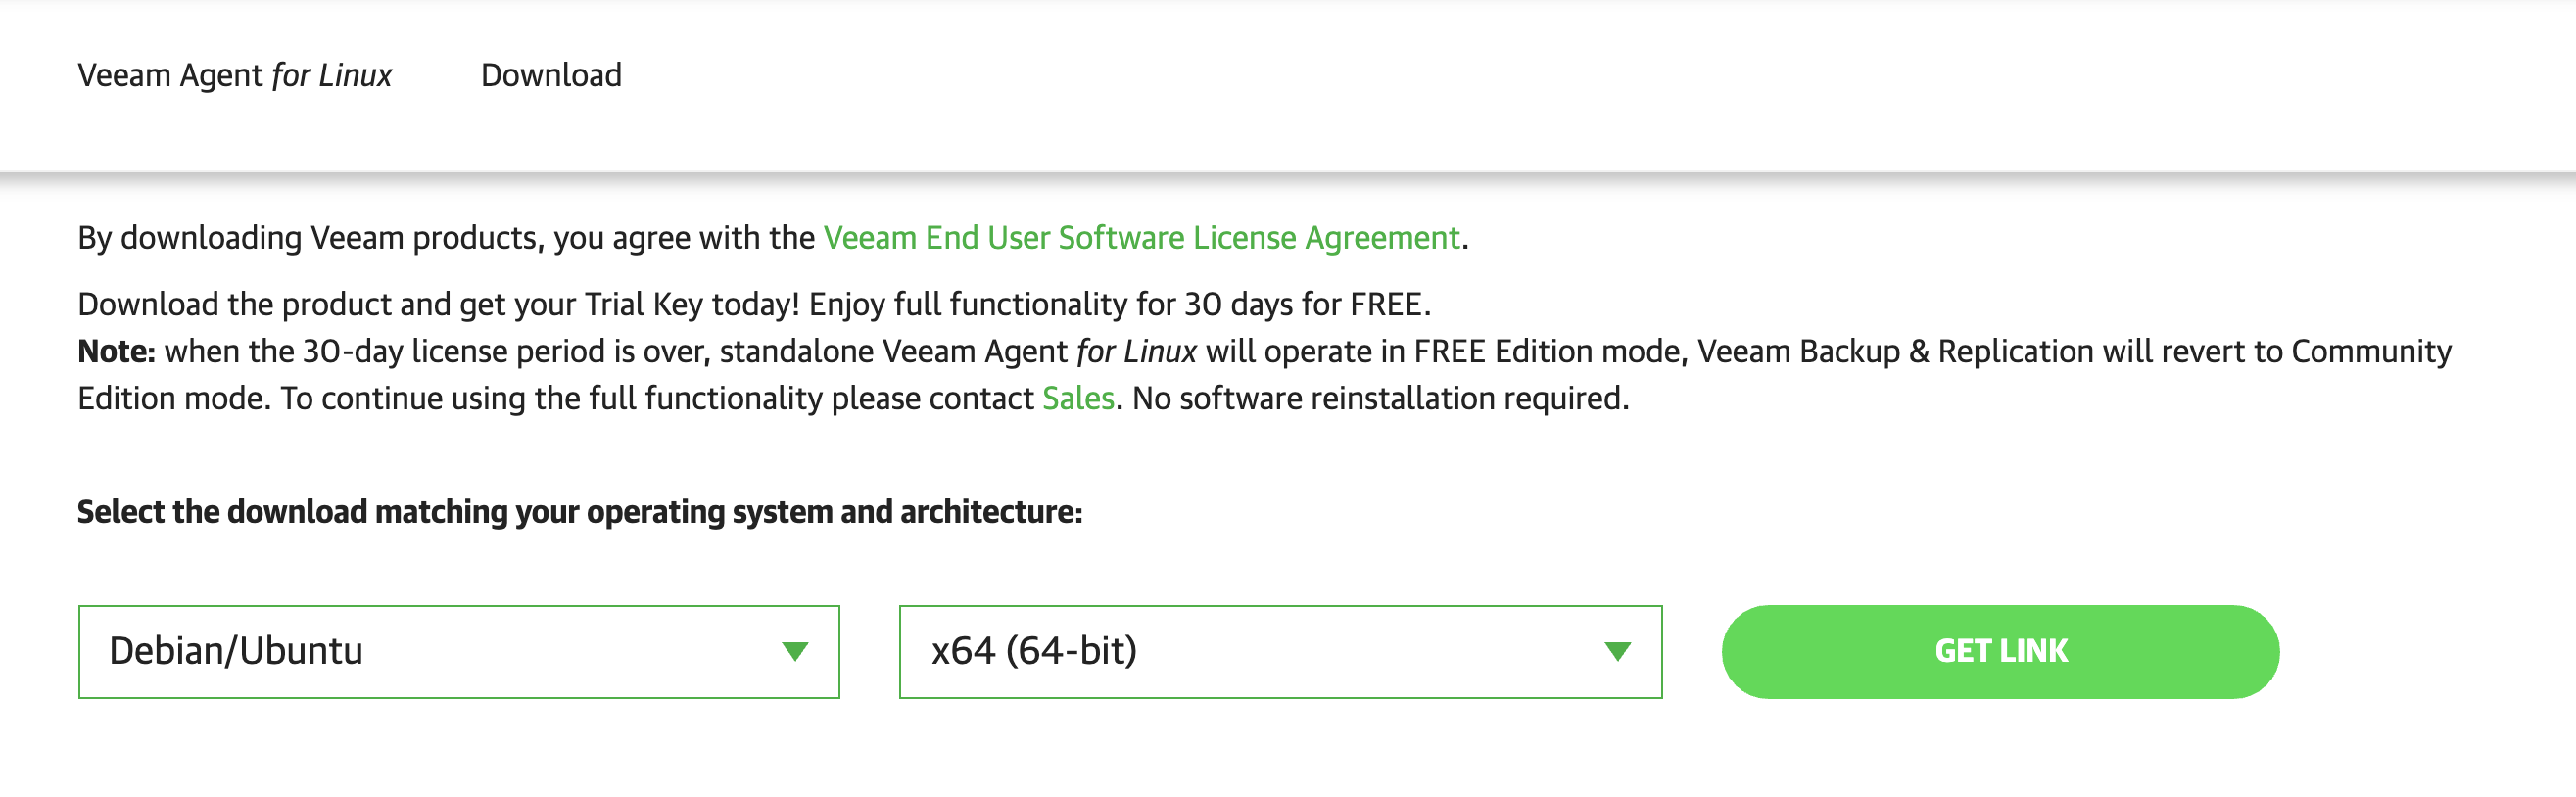
First up we need to get the repository install package from the Veeam website, grab it from veeam.com/linux-backup-download.html and select your flavour and hit get link.
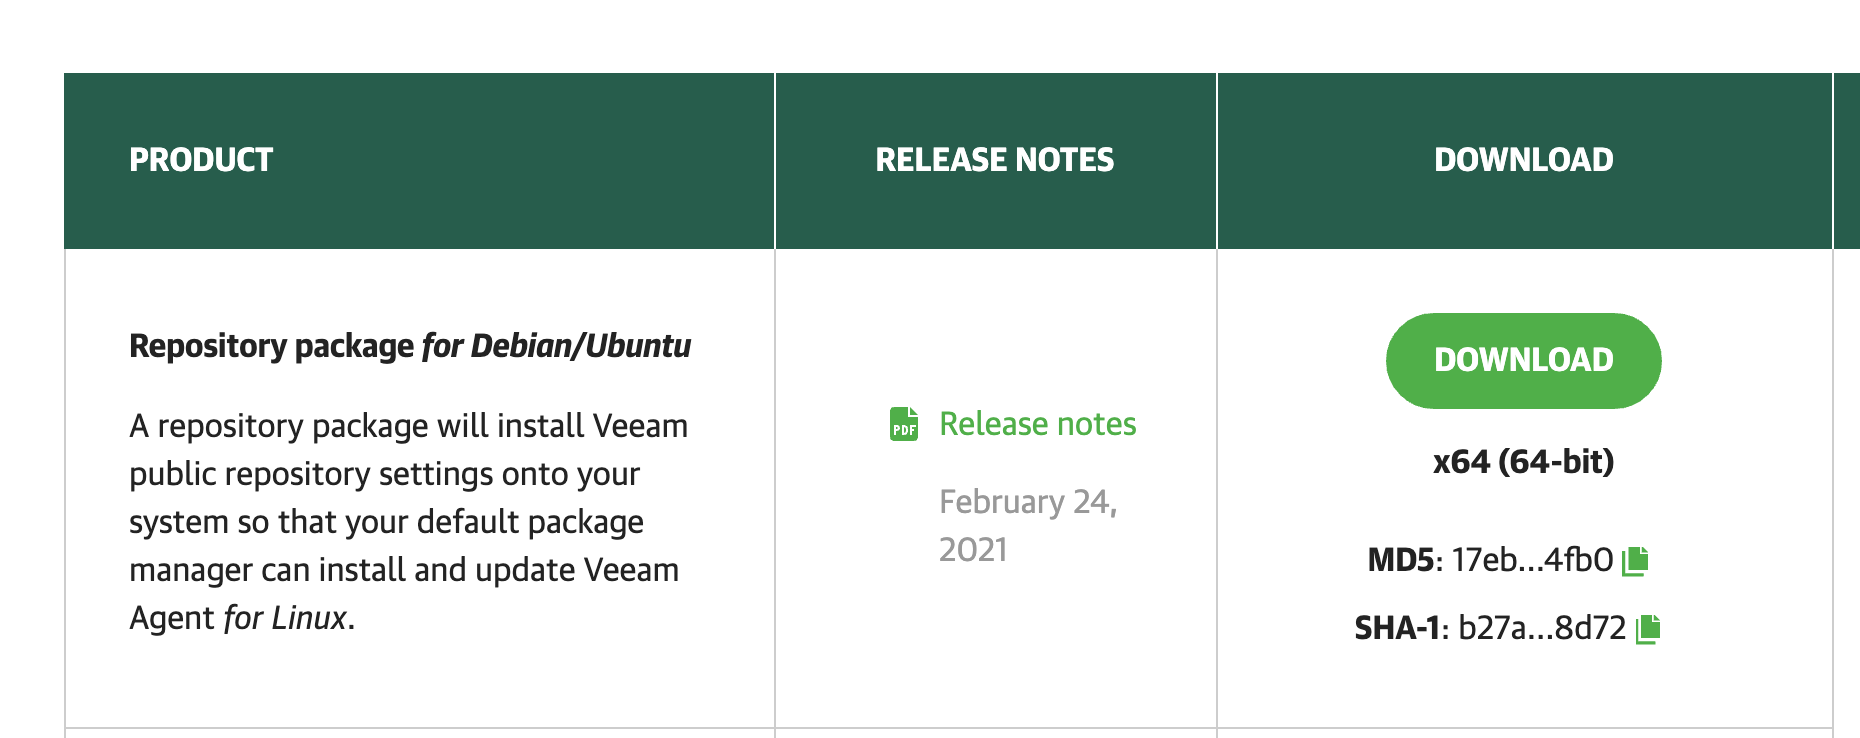
 This will open up a download section below, grab the file (veeam-release-deb{version}.deb in my case transfer this to your machine.
 I popped it somewhere public and just used wget but you
 Now you have the veeam-release package on your machine, install it
dpkg -i ./veeam-release* && apt-get update
You can then see a Veeam repository has been added to your list of sources

Veeam Agent Install
With the repositories now loaded we can run the install via the package manager.
apt-get install veeam
Note… Ubuntu 20.04 and 20.10 on kernel version 5.8 or later require the nosnap version, so use apt-get install veeam-nosnap
You will be asked to install the package, select yes and let it do its thing.
 On my tiny little droplet this took a while to build due to the minimal processing power, got there in the end…
 You will end up with it starting the Veeam service.
 Now we are ready for the initial setup/configuration. Run “veeam” from your terminal.
veeam
This will load the UI to configure.
Agree to the terms, move next.
 At this point you can choose to create recovery media, view the documentation on the Veeam site to work through your desired configuration. I went with the following.
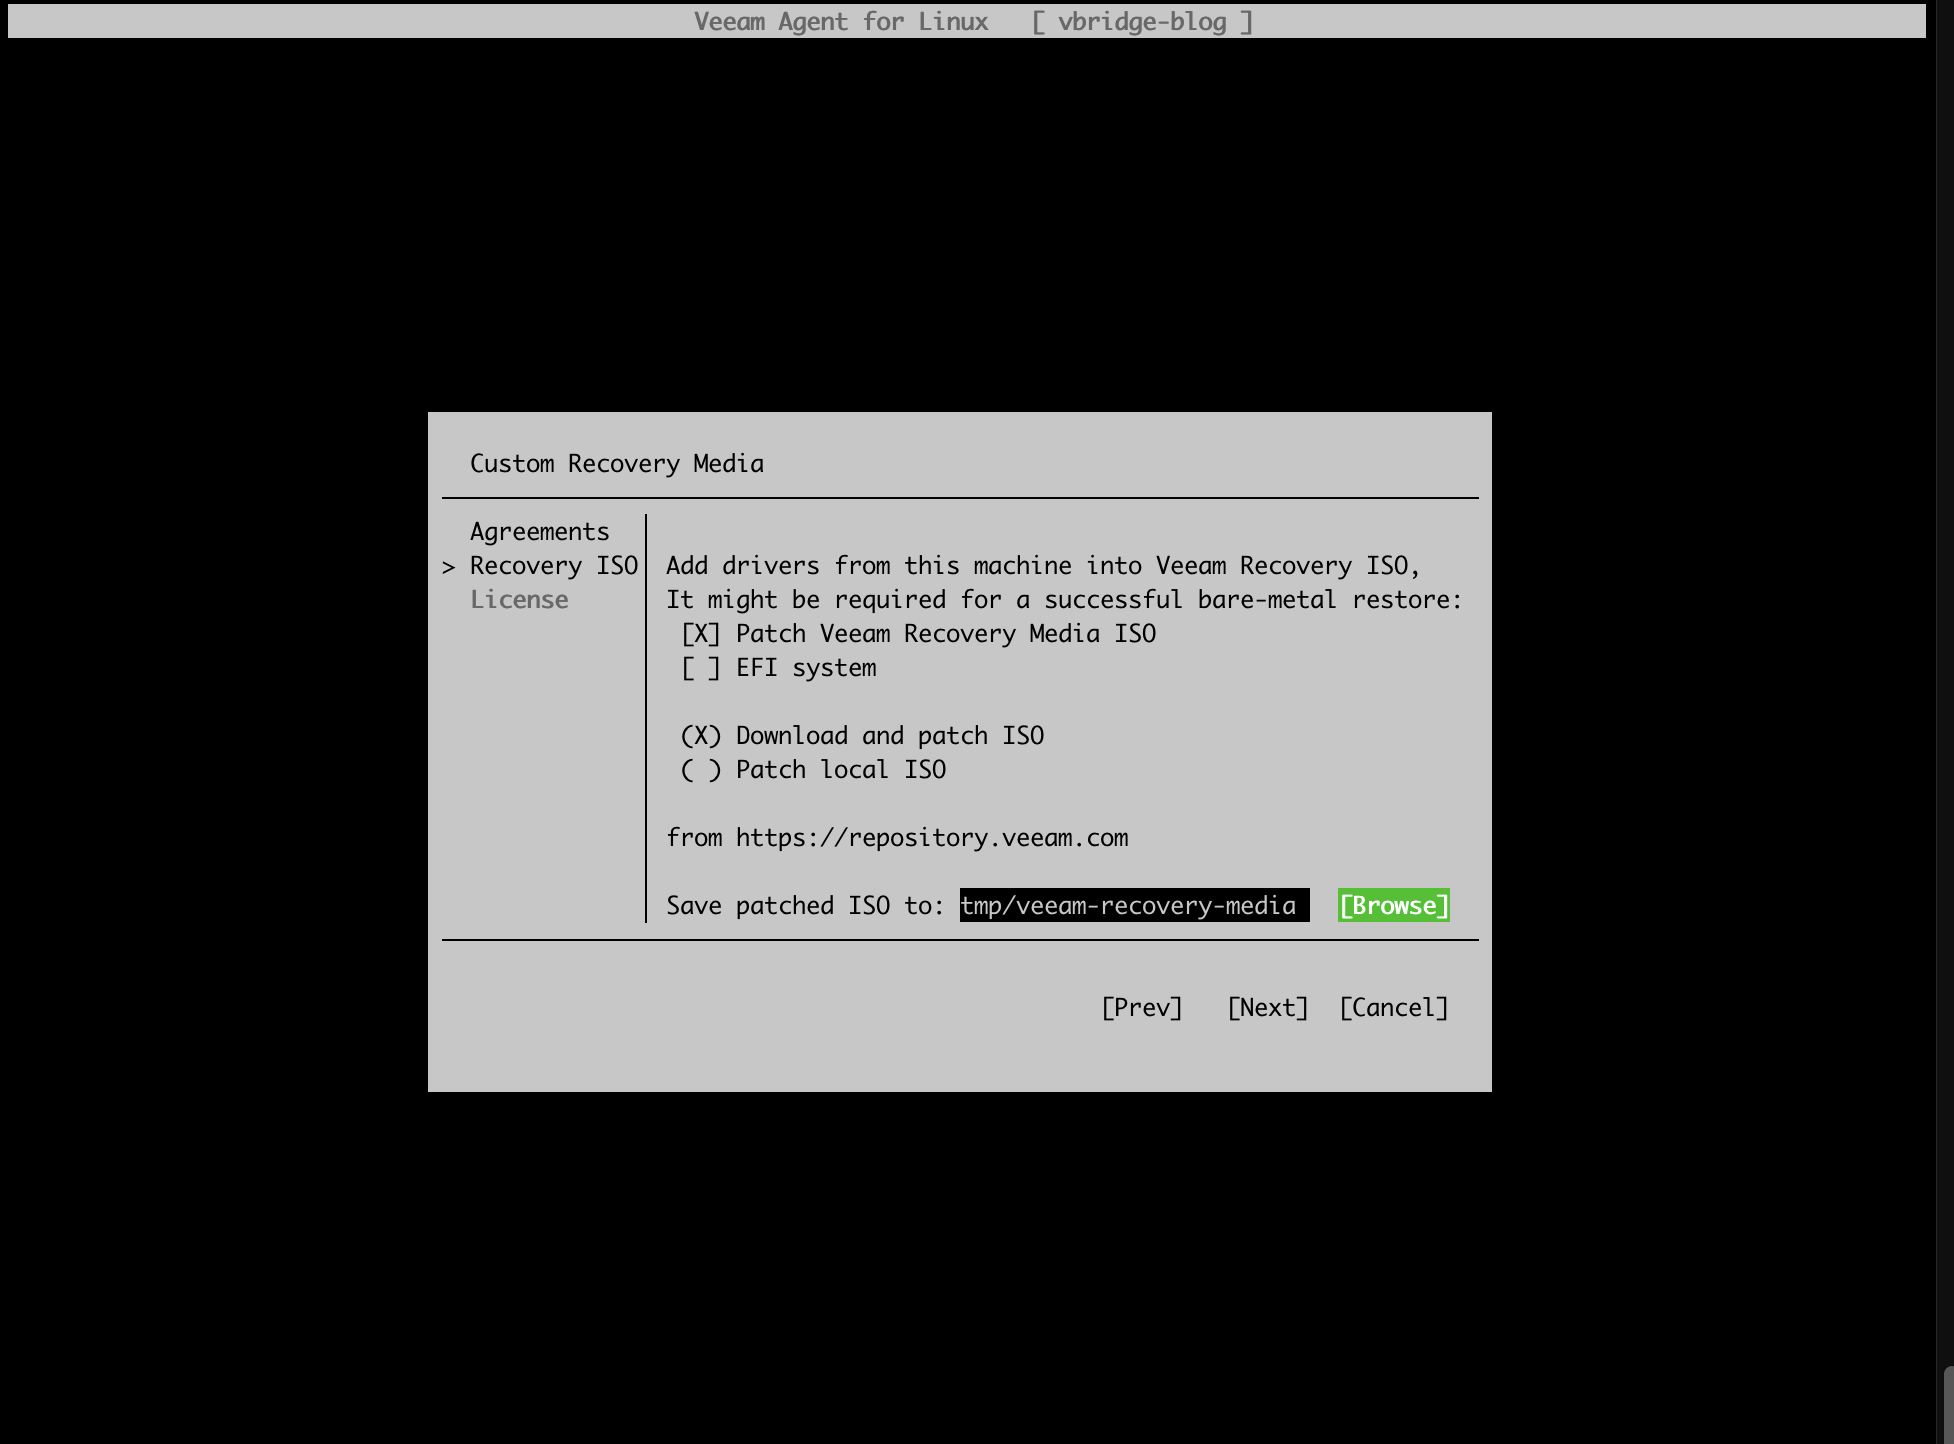 Let the install work through the ISO creation, took a few minutes on the droplet.
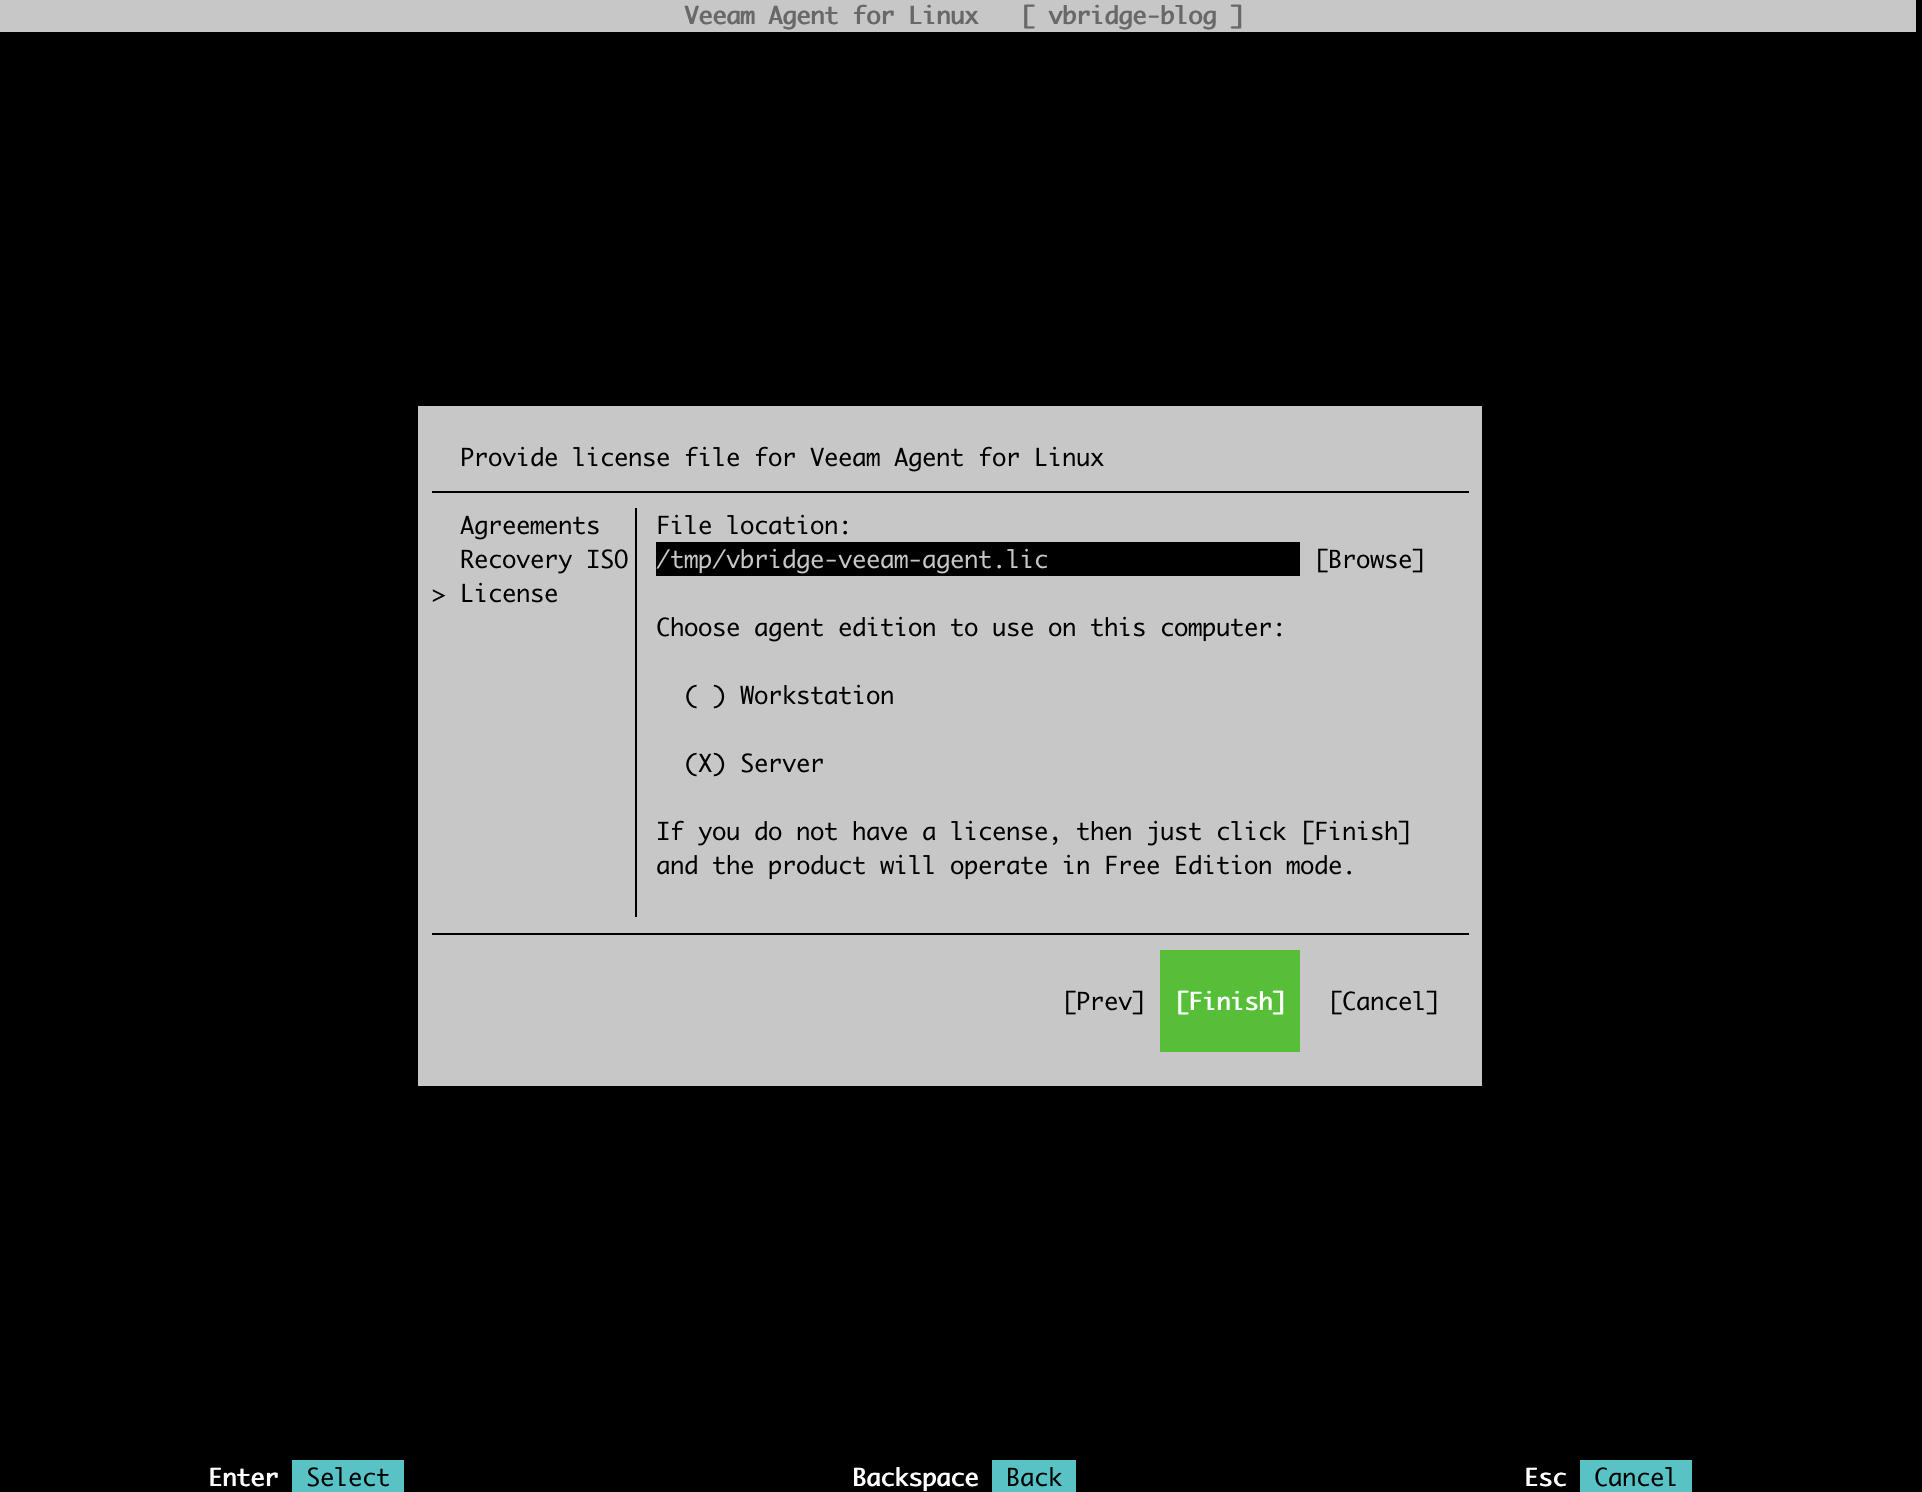
Select the file location of the license (there is a Trial you can register for on the Veeam site if you are only looking to kick the tires)
And then select the edition, this one is a server. Then complete the wizard by selecting Finish.
 This will bring us to the configure screen where we can now choose to backup certain volumes, directories or the entire machine.
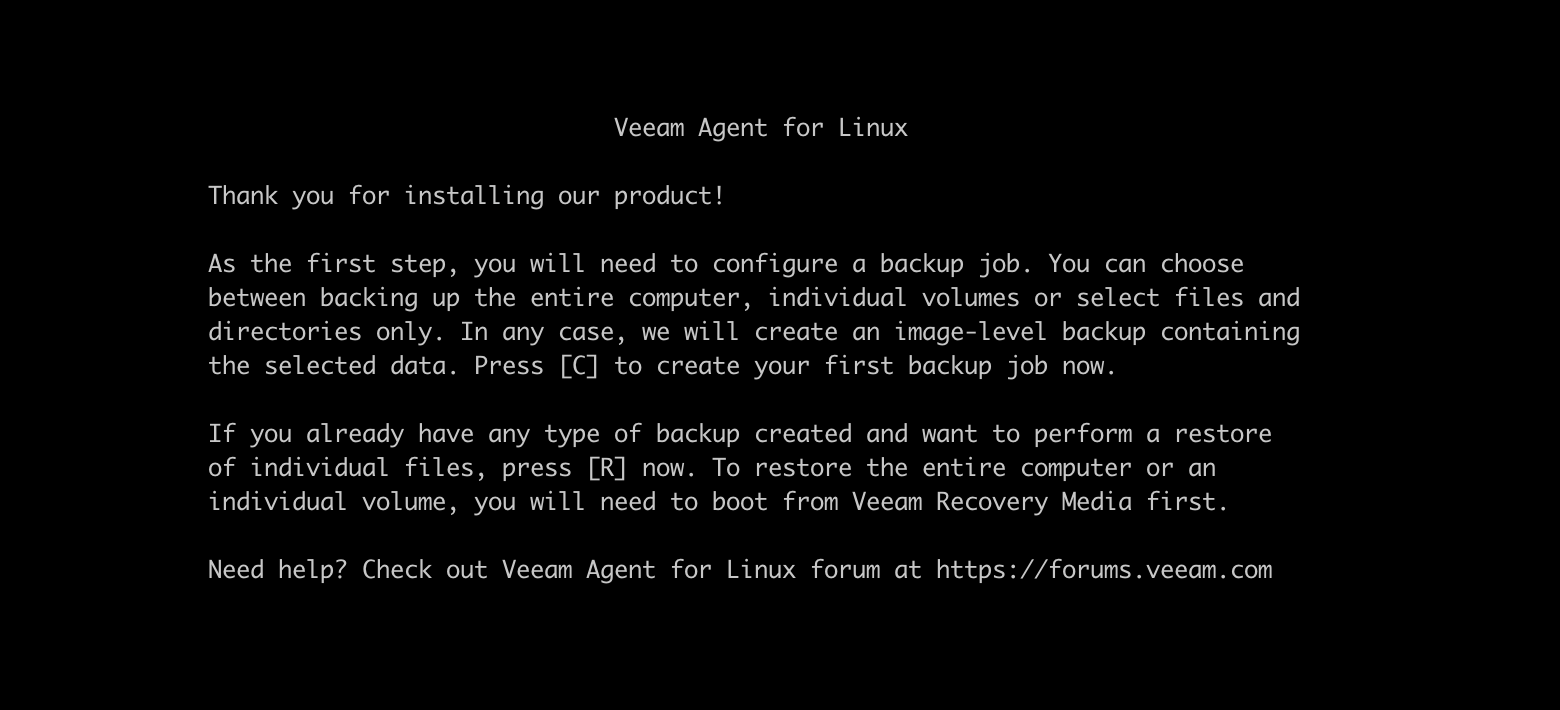 Hit “C” to configure
Give you backup job a name
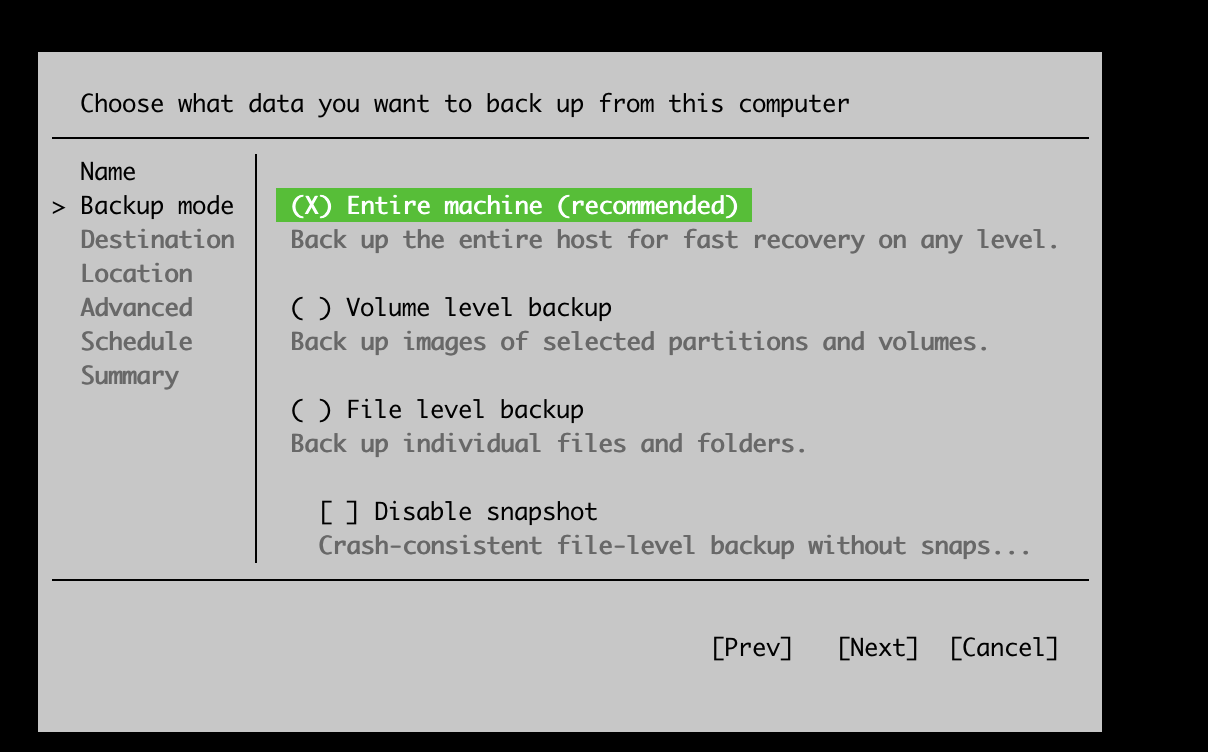
 Select what to backup (entire machine for me)
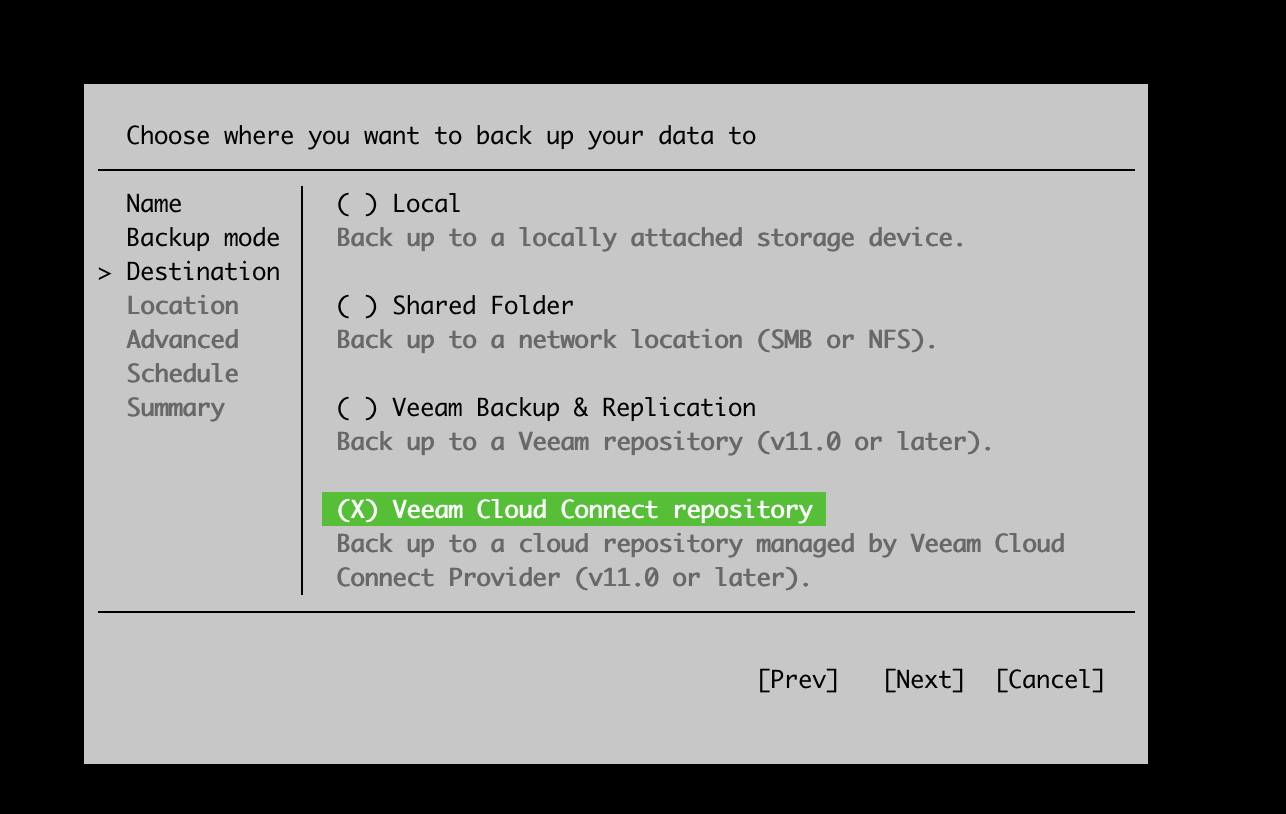
 The destination for me will be a Cloud Connect repository, since this is off network without any connectivity back to a B&R server and there is no file share either this is a nice simple option.
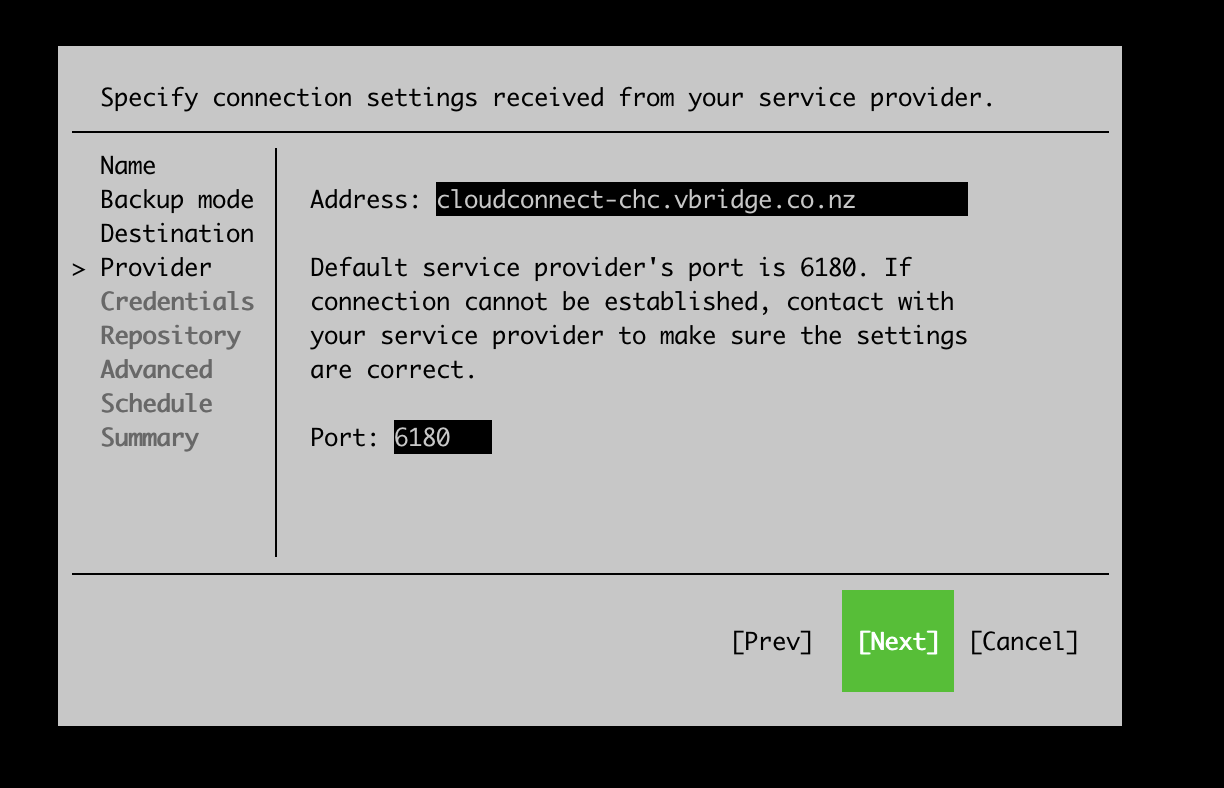
 Now I enter in my provider address details
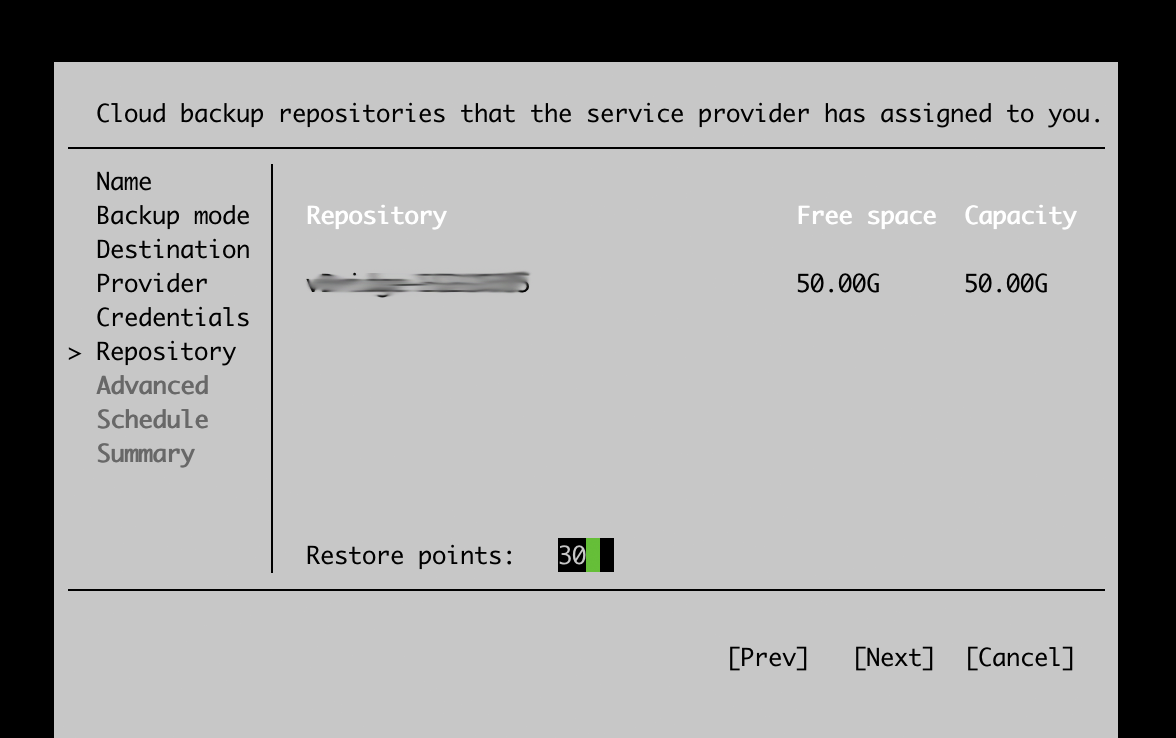
 Followed by the credentials for my Cloud Connect tenant, this will be then validated and it will show you what resources you have available. You can also enter how many retention points you want to keep, i am bumping mine from the default of 7 up to 30.
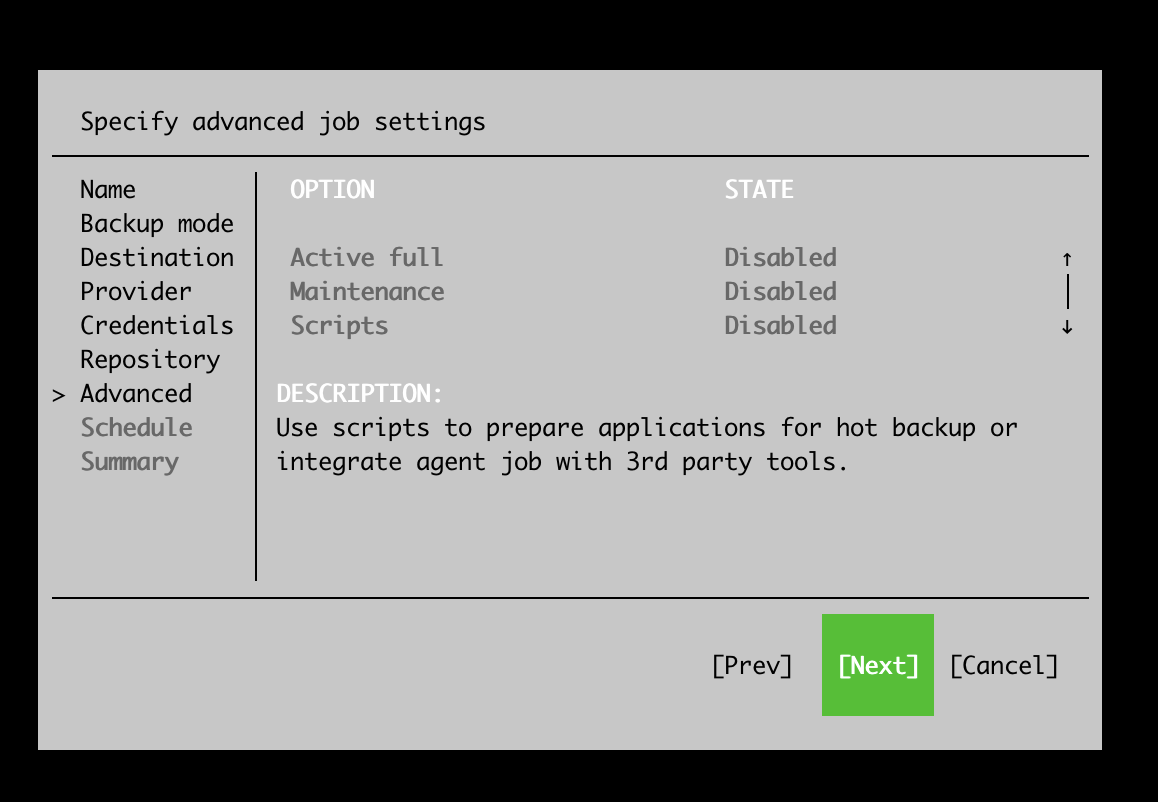
 Select any advanced options if you require such as indexing oracle, mysql or any scripts you need to execute. I opted to enable backup file encryption, make sure you keep your passphrase secure.
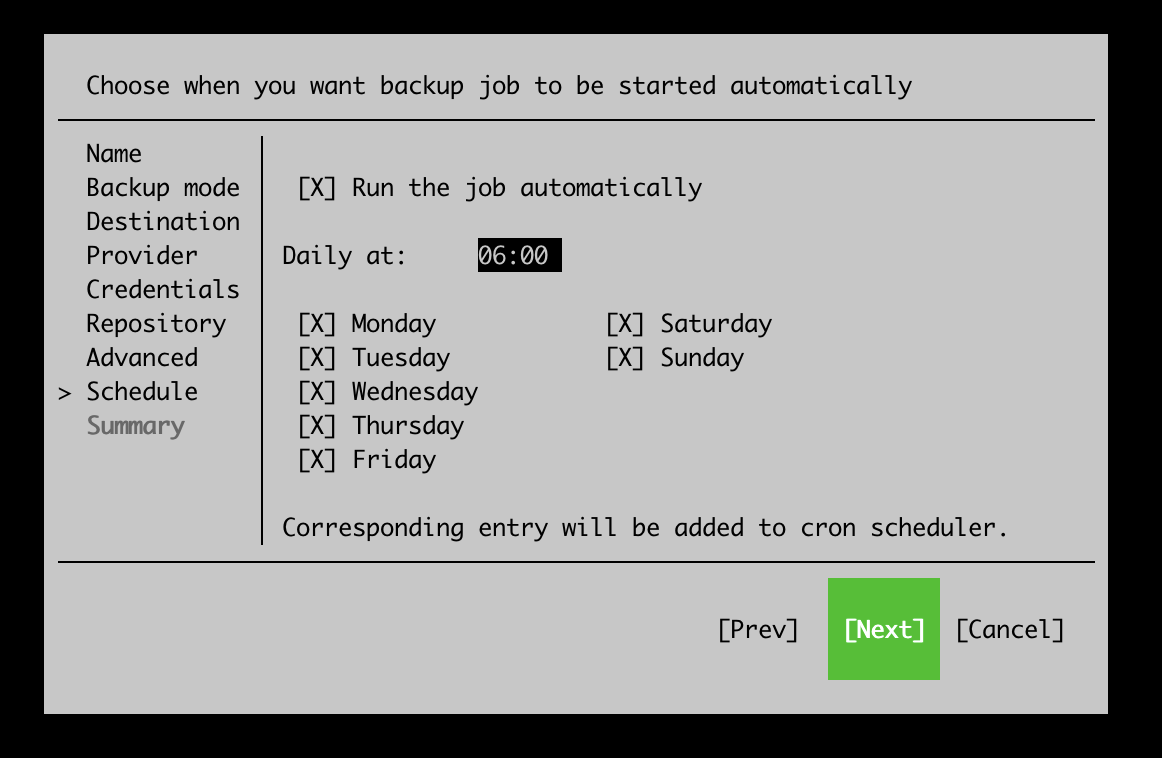
 Nearly there, complete your desired schedule, my requirements here are pretty simple so left it as the default and automatic, you can adjust as required.
 You will now get a summary, and you can opt to start the job now if desired. Select Finish.
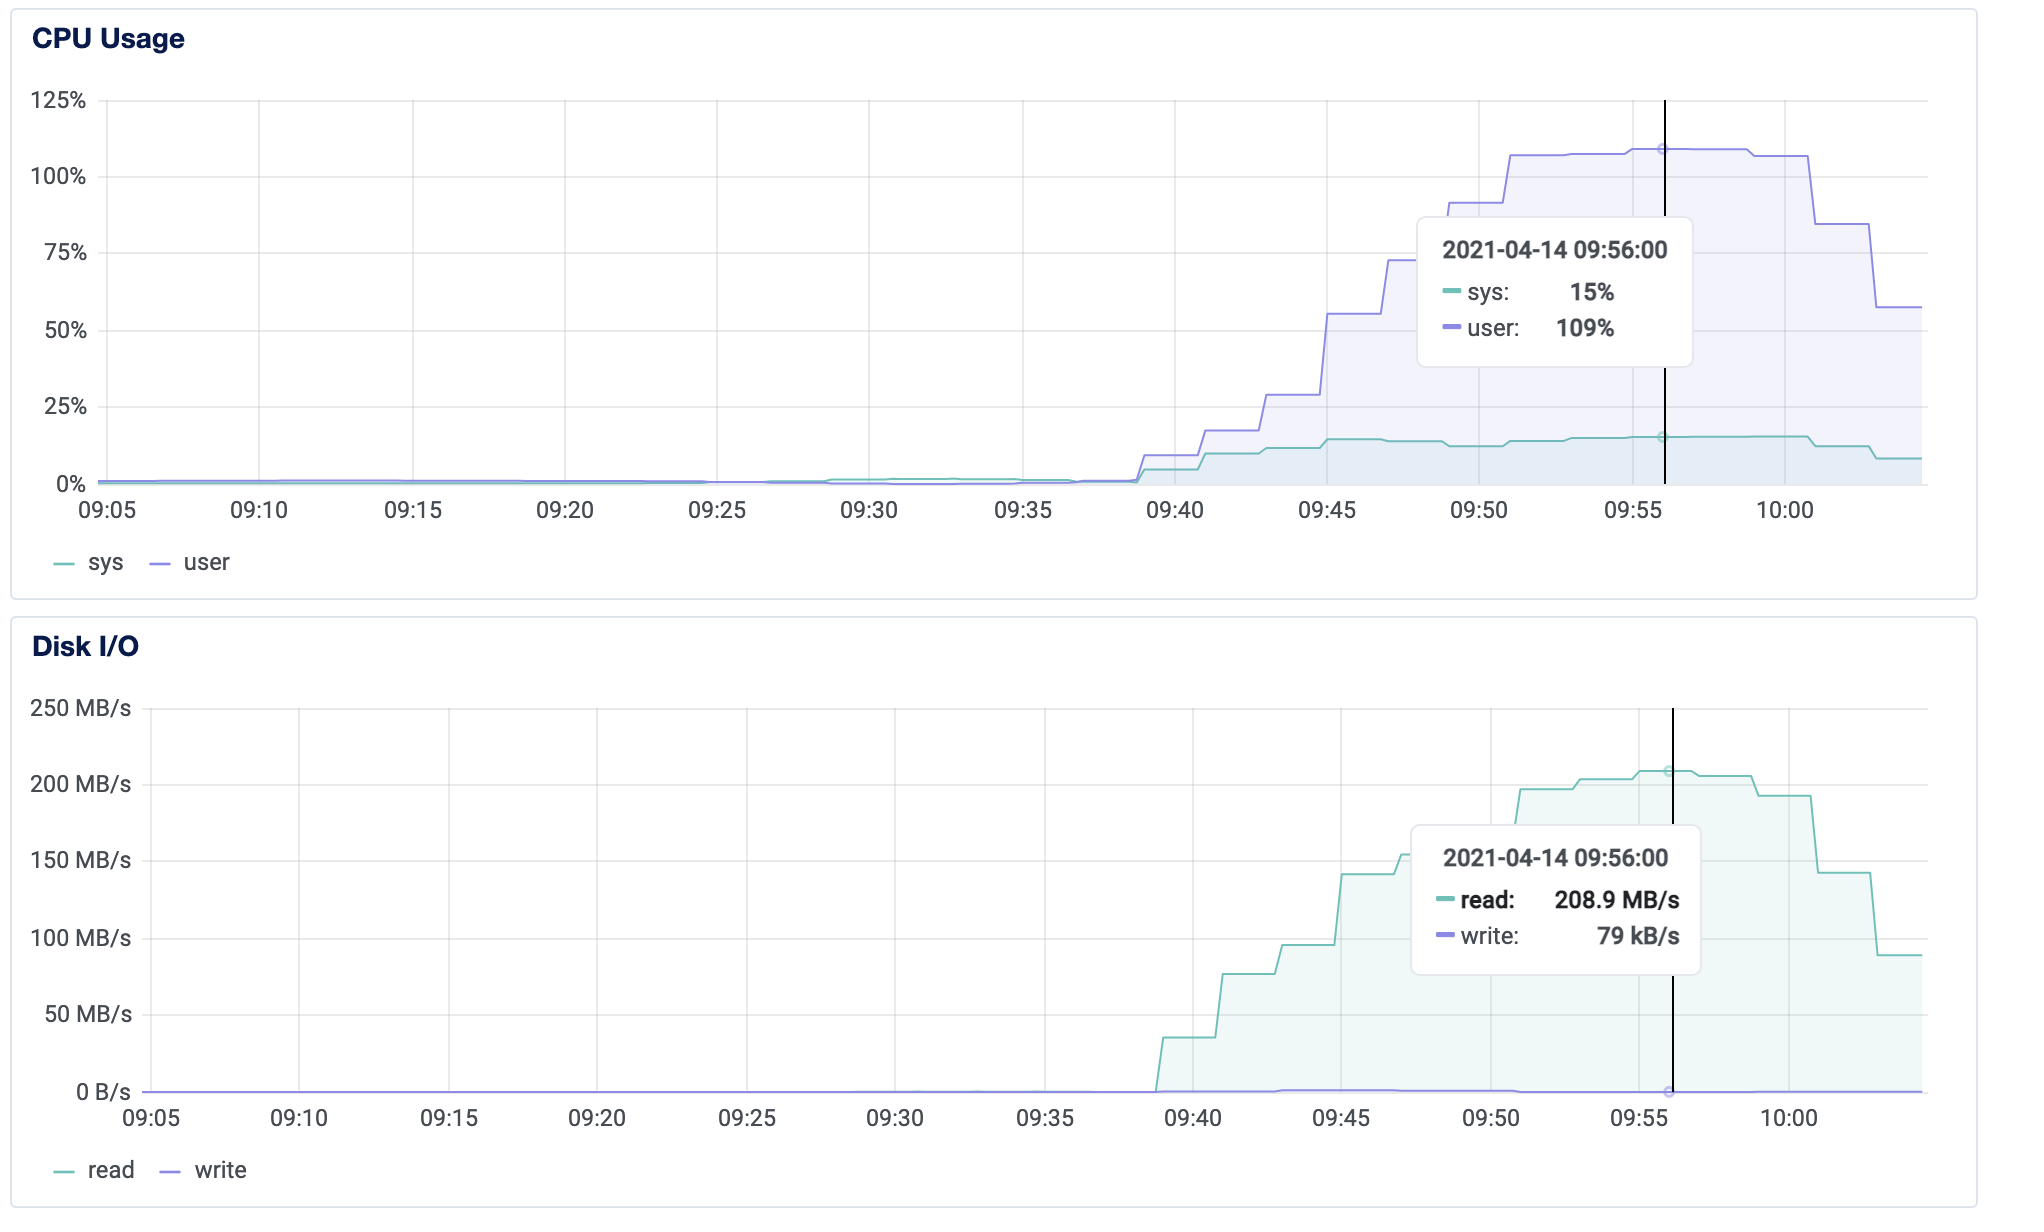
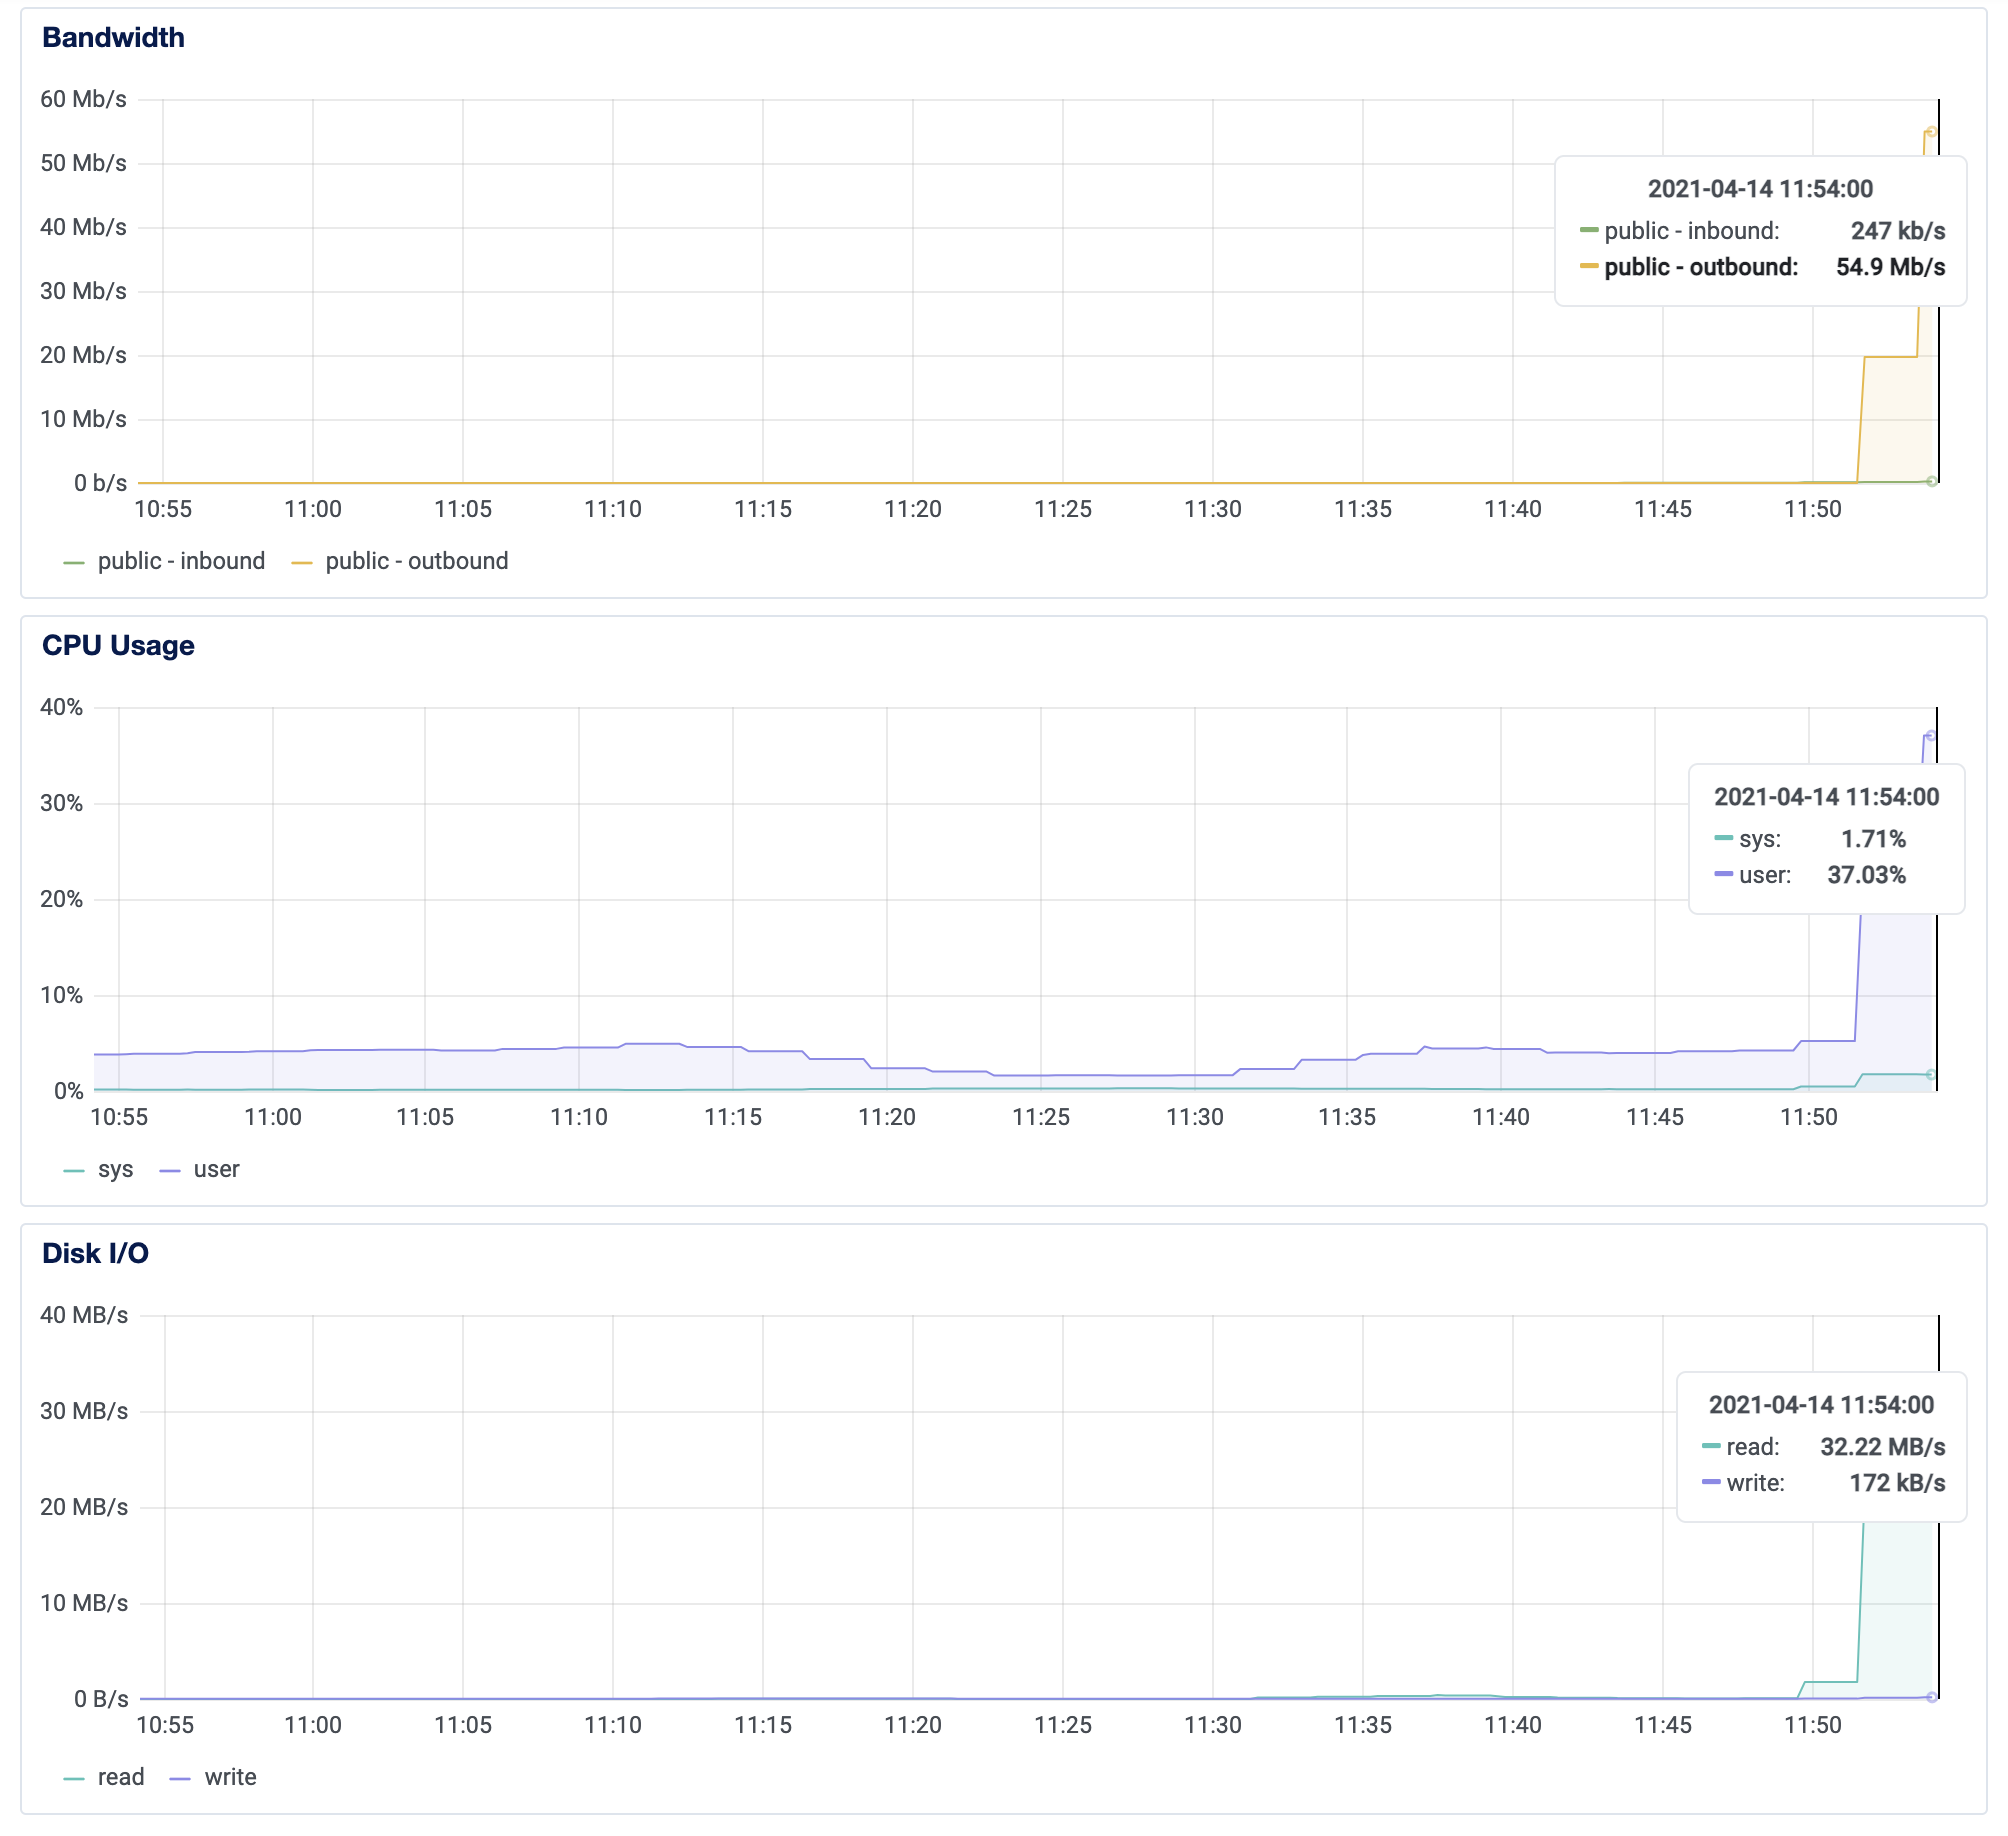
My job is now running, I can see from the Digital Ocean dashboard blinky lights are flashing.
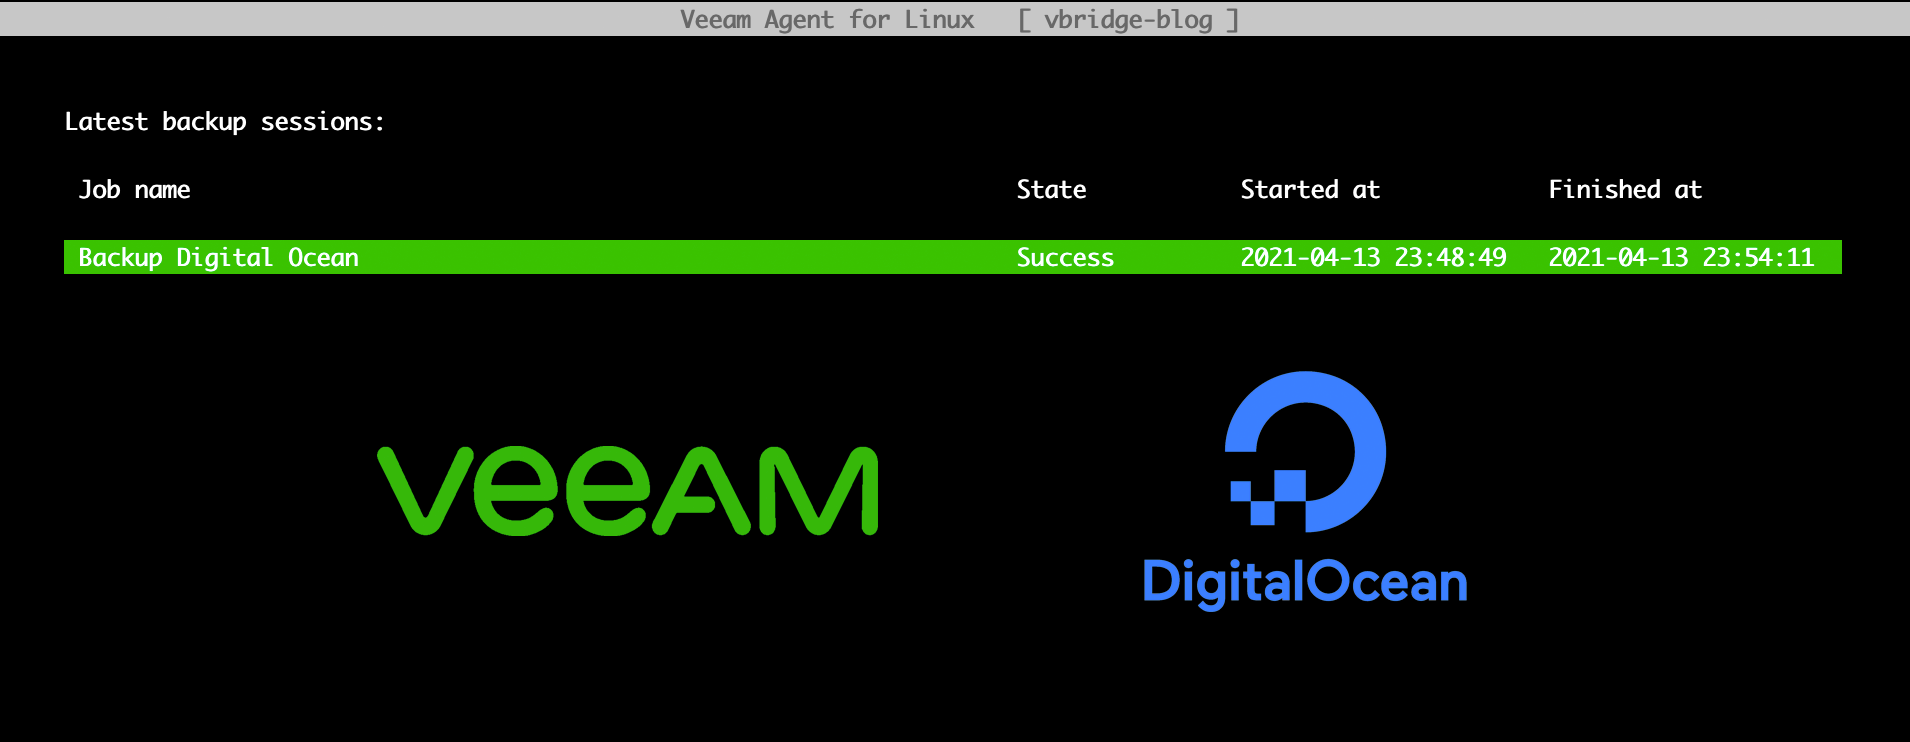
 And after a little while the job will be complete.
 And over on my Cloud Connect tenant I can see usage in my dashboard.
 That’s all there is to it. You now have an offsite backup! In another post we will cover getting this running on another platform.