Getting started with the Veeam Data Integration API
There were a load of announcements with v10 of Veeam Backup & Replication. This one is by far the one I am most excited about. I have been using it for a few weeks now building up to a more complete example but here is how you can get started right now and test it out.
This powerful feature will let you **re-use your backup data **and perform processing on it. Anything from eDiscovery, classification, malware detection, compliance - possibilities are endless.
You will need
- Veeam V10 up and running
- At least one job with a virtual machine and single restore point
- Access to PowerShell/Veeam CMDlets
- Optional: target Windows server to mount the backups too
Publish-VBRBackupContent
This is the cmdlet you need to execute. It is fairly simple and only requires a couple of inputs. You can read the official documentation over on the Veeam site.
As a minimum, you need to give it a backup restore point. This will then mount the drives locally to the VBR backup server.
I have chosen however to mount this on another processing server in which case you also need to specify the TargetServerName and TargetServerCredentials (note these are credentials stored in Veeam)
They then pop up in Disk Management automatically as well as being made available under c:\VeeamFLR\YOURSERVERHERE_XXXXX - under this folder are additional folders which are the volumes from the virtual machine itself. This is where the data is.
Scenario
The script here will not process/do anything meaningful with the data but can be used as a base for your logic to perform actions on the files.
It does the following
- Connects to the backup server from the data processor machine *(not necessary but you will see why)
- Loads the backup job called Fileservers
- Finds the unique virtual machines in that backup job
- Fetches the latest restore point for each server
- Publishes the content of this restore point to the data processing server
- Finds the drives/volumes relating to this session mounted to the processing server
- Gets the files recursively for each volume and this is where you can use your imagination
Example script
To get you started! Now go forth and create…
Add-PSSnapin VeeamPSSnapin -ErrorAction SilentlyContinue

#connect to your backup server
Connect-VBRServer -Server "YOURBACKUPSERVER"

#get this machine (the data processor) ip address
$targetServer = (Get-NetIPAddress -AddressFamily IPv4 | Select-Object -First 1).IPAddress
$targetServerCreds = Get-VBRCredentials -Name "lab\administrator"

#backup job name
$jobName = "Fileservers"

#job object
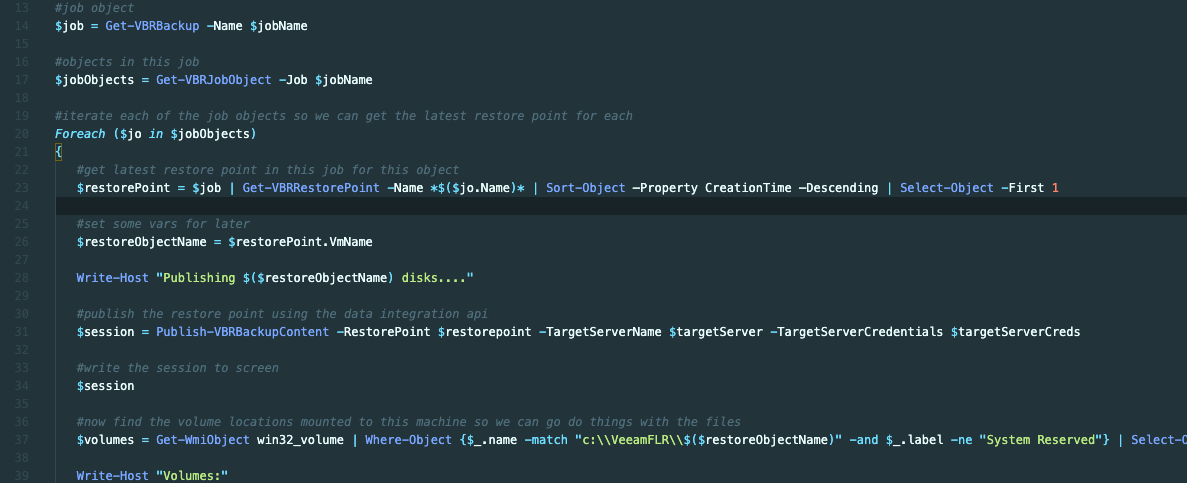
$job = Get-VBRBackup -Name $jobName

#objects in this job
$jobObjects = Get-VBRJobObject -Job $jobName

#iterate each of the job objects so we can get the latest restore point for each
Foreach ($jo in $jobObjects)
{
   #get latest restore point in this job for this object
   $restorePoint = $job | Get-VBRRestorePoint -Name *$($jo.Name)* | Sort-Object –Property CreationTime –Descending | Select-Object -First 1

   #set some vars for later
   $restoreObjectName = $restorePoint.VmName

   Write-Host "Publishing $($restoreObjectName) disks...."

   #publish the restore point using the data integration api
   $session = Publish-VBRBackupContent -RestorePoint $restorepoint -TargetServerName $targetServer -TargetServerCredentials $targetServerCreds

   #write the session to screen
   $session

   #now find the volume locations mounted to this machine so we can go do things with the files
   $volumes = Get-WmiObject win32_volume | Where-Object {$_.name -match "c:\\VeeamFLR\\$($restoreObjectName)" -and $_.label -ne "System Reserved"} | Select-Object Name, FileSystem, Label

   Write-Host "Volumes:"
   $volumes

    #iterate each of the volumes mounted for this machine
    Foreach ($volume in $volumes)
    {
        #get the files/recursive look, filter by images.. you can do what you want here.
        $files = Get-Childitem -Path $volume.Name -Include *.jpg,*.png,*.gif -File -Recurse -ErrorAction SilentlyContinue

        #iterate each of the files
        Foreach ($file in $files) {
            #do some magic with the files
            $file
        }

    }
   #tear it down
   Unpublish-VBRBackupContent -Session $session
}
