The Veeam VBO v6 release is one that is highly anticipated by the market since it was announced mid 2021 as it includes a number of new features as well as a bunch of enhancements.
Notably the new functionality people are most excited about is;
Self-service restore portal
We will look at this a bit more in another post but effectively this is a web-based portal that enterprises can present to their users and allow them to login directly with their own Microsoft 365 credentials - upon doing so they will have access to their own data and have a similar experience to that of the Veeam Explorers.
Things like a search function, restore to original or new location - pretty powerful when you think about how many service tickets are logged globally each year for basic restore tasks. This is going to be a massive time saver.
Archive support to AWS or Azure
This allows you to hold an additional copy (that you hopefully never need to use...) of your data offsite in a low cost repository - great for allowing enterprises to comply with the classic 3-2-1 backup methodology.
If you are familiar with the Veeam Backup and Replication concept of a copy job this appears to work in a similar way by allowing you to create a copy job off one of your primary M365 backup jobs (backed by object or block). We will take a look at this function in another post as well but just a heads up this is new.
Installing
Much like all previous versions of the Veeam M365 product installs it takes all of about 30 seconds before you are up and running.
One thing to notice is the installer has an upgraded UI - looks good!
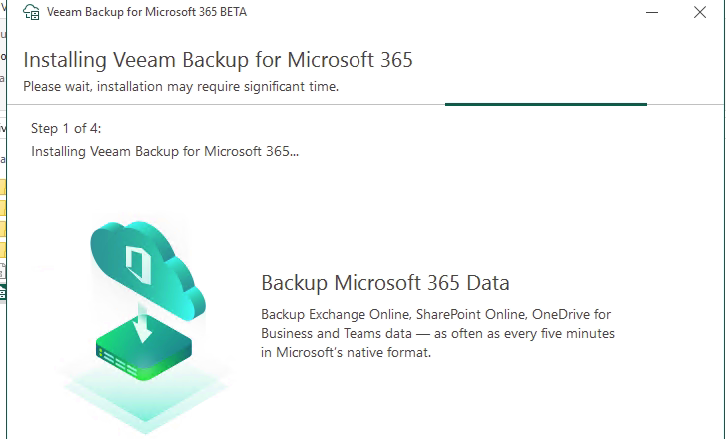
Then you can fire the console up via the desktop icon.
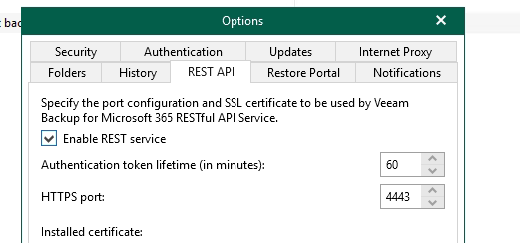
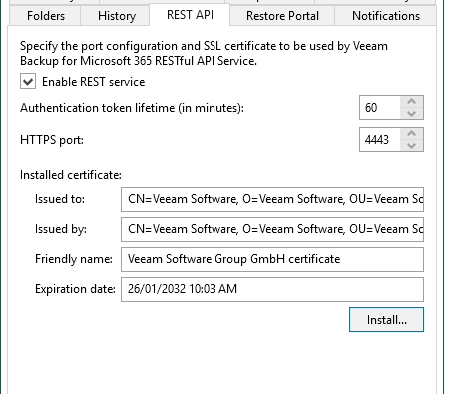
A couple of steps because we will want to automate this instance is to enable the REST API - skip if you are not planning on using this.
Under the options menu, select the REST API tab, select enable - you can install your own certificate if required or install a self-signed one which is what we will be doing for this install.
Generate/install cert
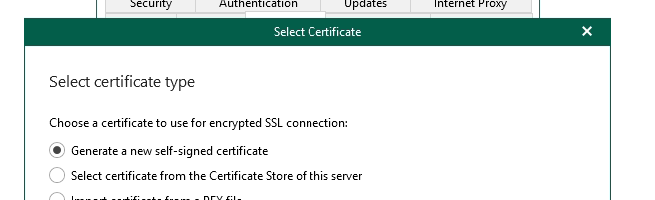
You will end up with something like the following.
Ok thats pretty much it for the base install - we can move onto some repository configuration.
Configure Backup and Object Storage Repositories
Ok so you have some options here when it comes to where and how you want to store your M365 backup data.
Block storage - effectively you will just store all of the data on a drive attached directly to your server. You will need to ensure you can scale this in the future when your tenancy starts to grow or as your backup requirements change.
Object storage - All of your data will end up being stored in an object storage platform which is a lot more fit for purpose as it can scale almost infinitely and is often a low cost per gb - some providers though have pretty steep egrees fees so make sure you factor this into your decision when selecting the platform.
We will be going the object storage platform route to a local (New Zealand) Cloudian platform so "s3-compatible" as Veeam like to call it.
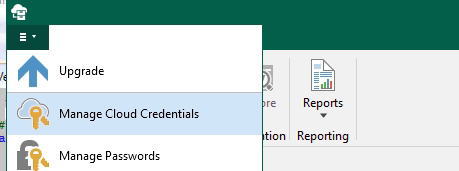
First, you need to add a cloud credential, under the manage cloud credentials menu item.
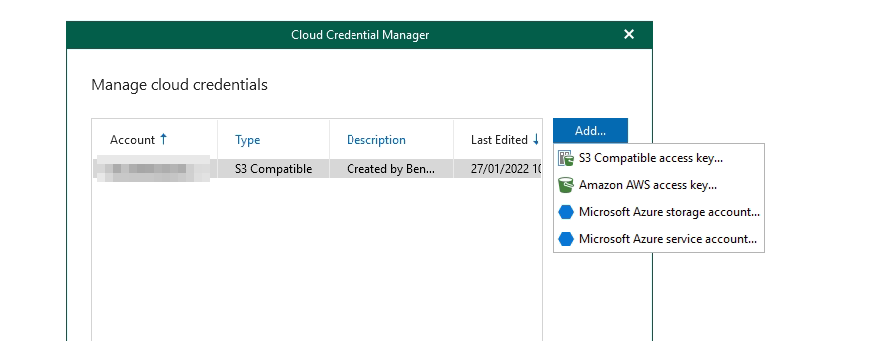
You can add a new one, select your credential type based on your target platform - basically if its AWS/Azure select those options, for everything else use S3 Compatible access key.
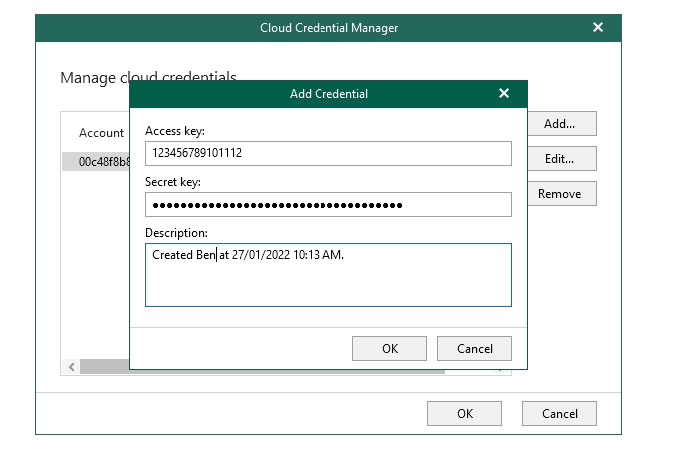
Enter your access key/secret key and select OK, your key will be added and we can use this later in the process.
We now need to configure an Object Storage Repository in doing so we will need the endpoint information as well as a bucket to put the data into which I have provisioned ahead of time.
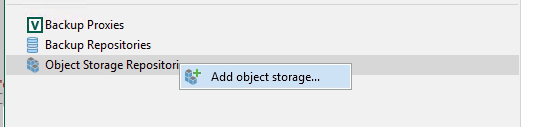
Navigate to the Backup Infrastructure section and right click Object Storage Repositories and then select Add object storage
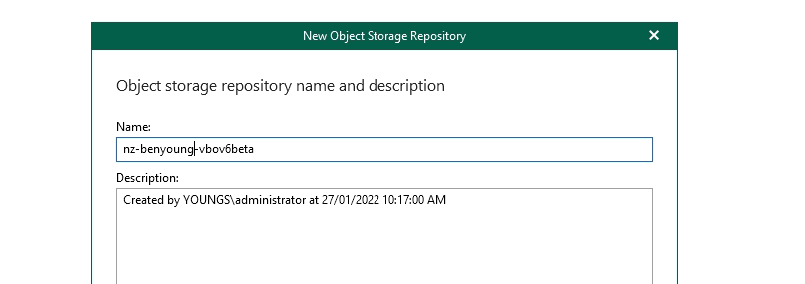
Give your new object repository a name
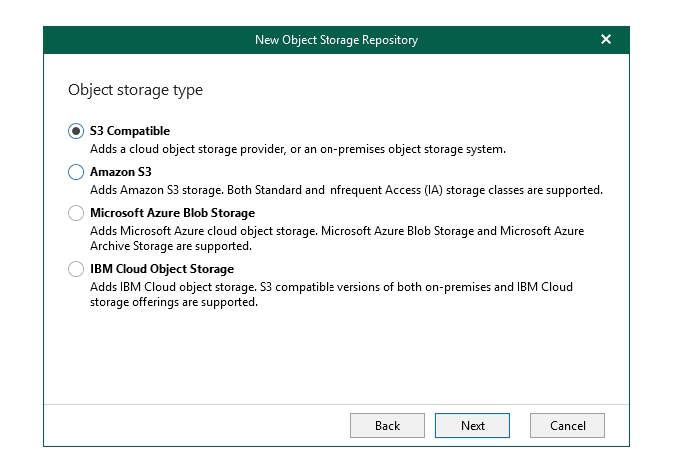
Then you can select your target platform - I am running with the S3 compatible option
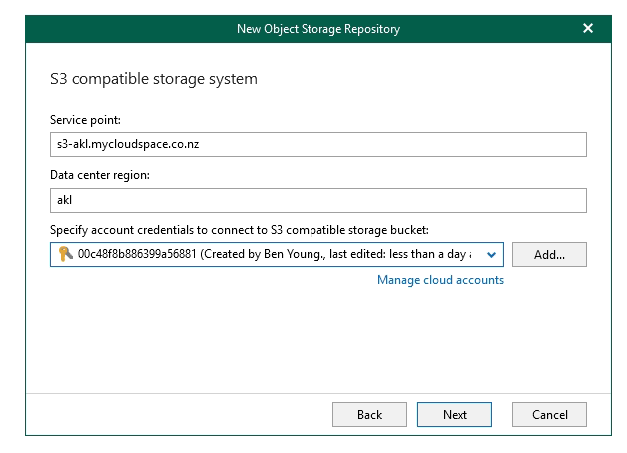
Now you need to enter the service endpoint for the provider in my case the s3-akl.mycloudspace.co.nz but your one will be visible in your providers portal or documentation - ensure you enter the correct datacenter region as well, again a per your providers documentation.
Then select the credential you already created.
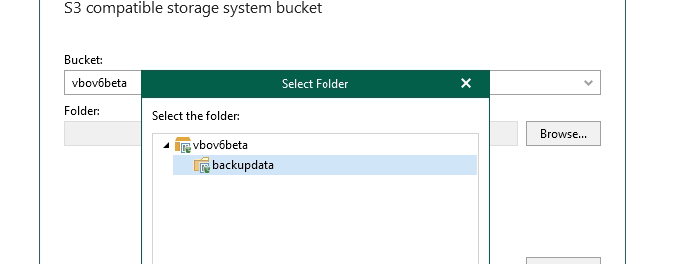
You will be presented with buckets associated with these access credentials - if you do not have a bucket follow your providers instructions on how to add a bucket to your account. I will select my vbov6beta bucket.

Hit the browse button next to folder - you can select the destination folder if you have added one ahead of time or create one via the interface like i did called backupdata
All going well, you will now have an object repository listed.

Now, we need to move onto the Backup Repository, this is slightly confusing as we just added an Object Repository right? right.. but. you cant backup directly to Object, hopefully one day.
So the way the Veeam handles this right now is to offload data of a backup repository to object storage repository - it creates a small cache folder and some other meta data locally on a block device but all of the data ends up in object.
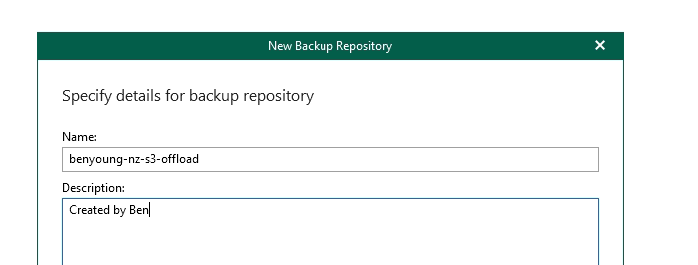
Right click backup repositories, add a new one. Give it a name hit next.
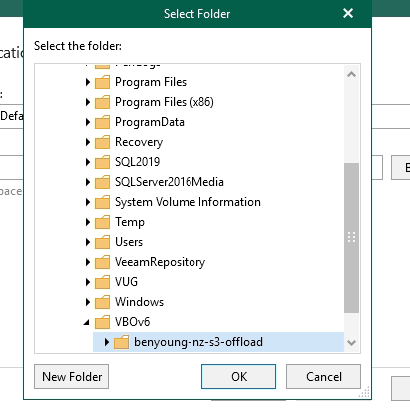
Now you need a local folder location for the cache/metadata as described above, i put mine in c:\VBOv6\benyoung-nz-s3-offload but for production I would recommend creating a new drive to keep it off the OS drive.
Select the proxy (the local one in my case), then hit next.
Now, the magic Offload to object storage, click the button, select the object storage repository you added earlier (you can actually add one from here too using the add button).
If you want to encrypt your data on the object platform which i recommend, you would enable that option as well and enter your desired encryption key.

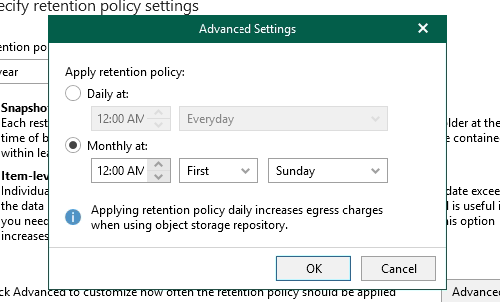
Select the desired retention, note that in this product the Repository controls the retention not the Job. This is a demo so I am going to use 1 year, the reality is you will likely want more than this.
I like item-level retention but you select what works best for your requirements.
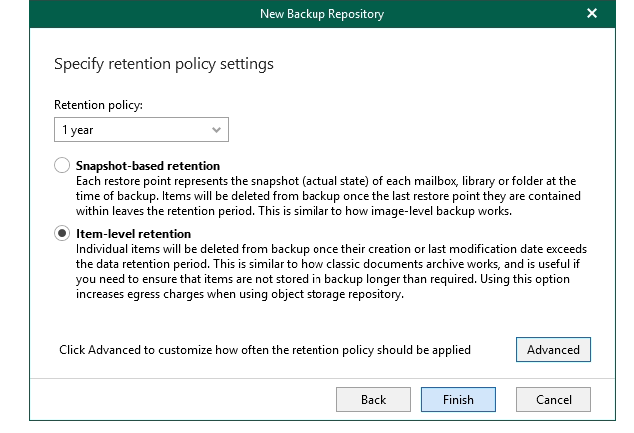
Under advanced there are some options around when you want to schedule the cleanup, if you have certain requirements around this you can configure otherwise it defaults to a monthly schedule.
The repository is now created. We can move onto adding our organisation to Veeam and start backing up!
Adding the Organisation
This is as easy as ever - since v5 the product supports modern authentication flow - assuming you have the correct access rights Veeam will take care of the heavy lifting in your tenancy. You can also do this manually if you prefer (note these are for v5, v6 docs still to be released and may require different settings)
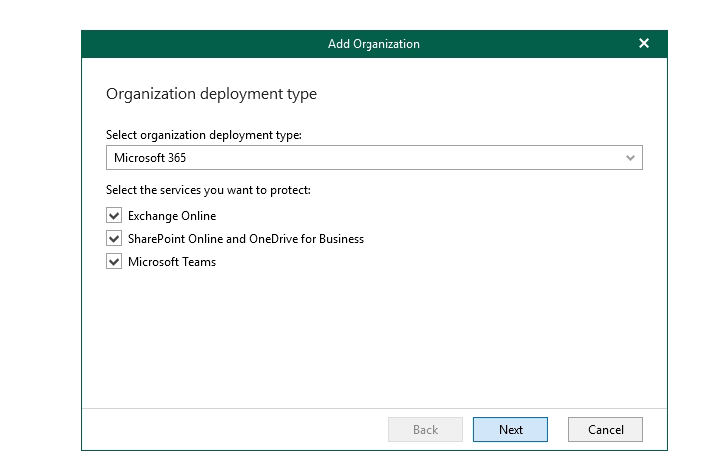
Ok, back on the Organisations menu, hit the Add Org button. Select what you want to protect with this backup product.
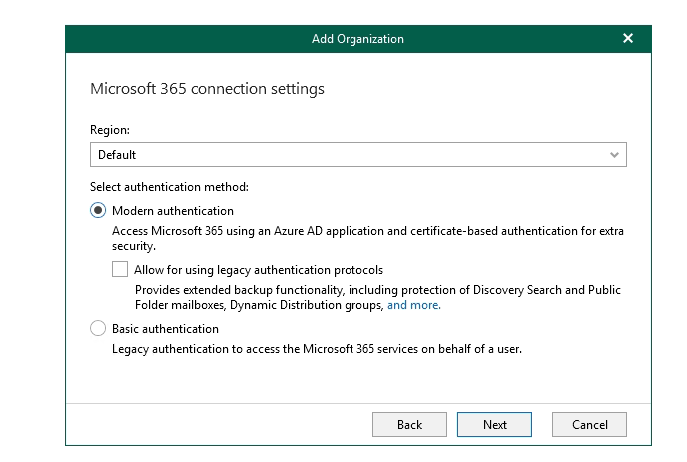
This is where you get the options around modern authentication or allowing legacy/basic auth.
Modern auth is 100% the way to go if you can.
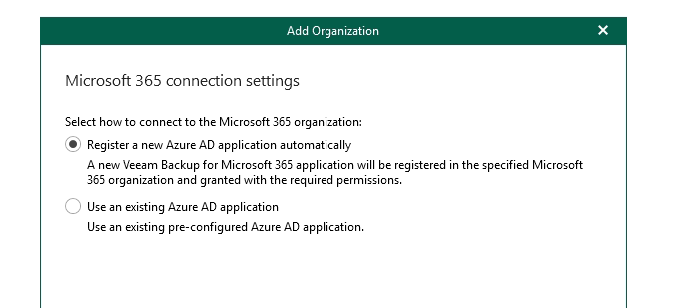
Same goes for this section - you are welcome to configure the application yourself but i prefer to allow Veeam to handle this via the setup process.
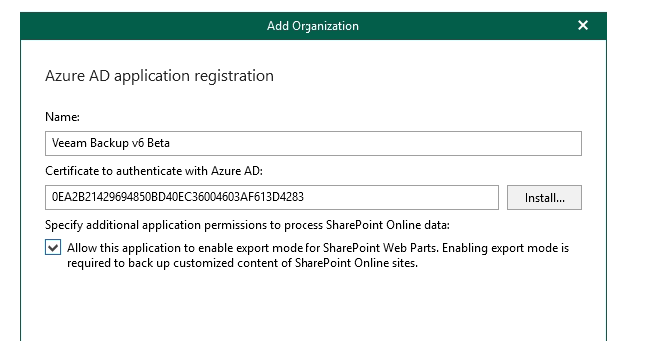
You will need to select a name for the application - this will be listed snd visible in your Azure tenancy so give it a meaningful name so people know what its for. You can opt to upload your own certificate here or generate a self-signed one.
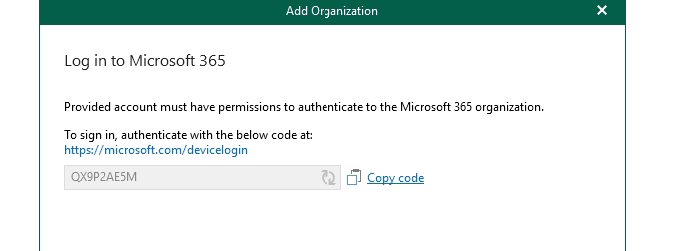
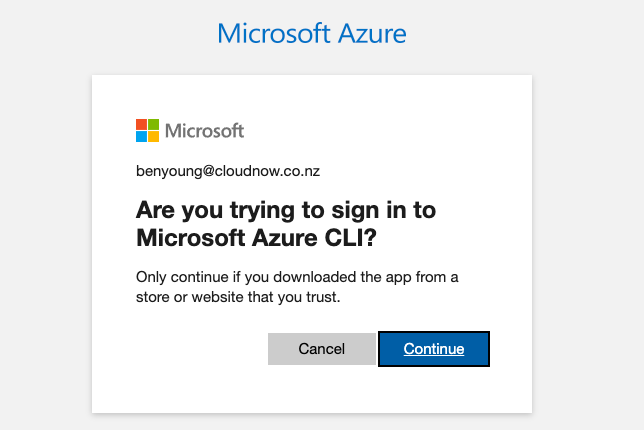
Here is the neat bit, modern auth via the devicelogin endpoint. Copy the code, then navigate to that URL.
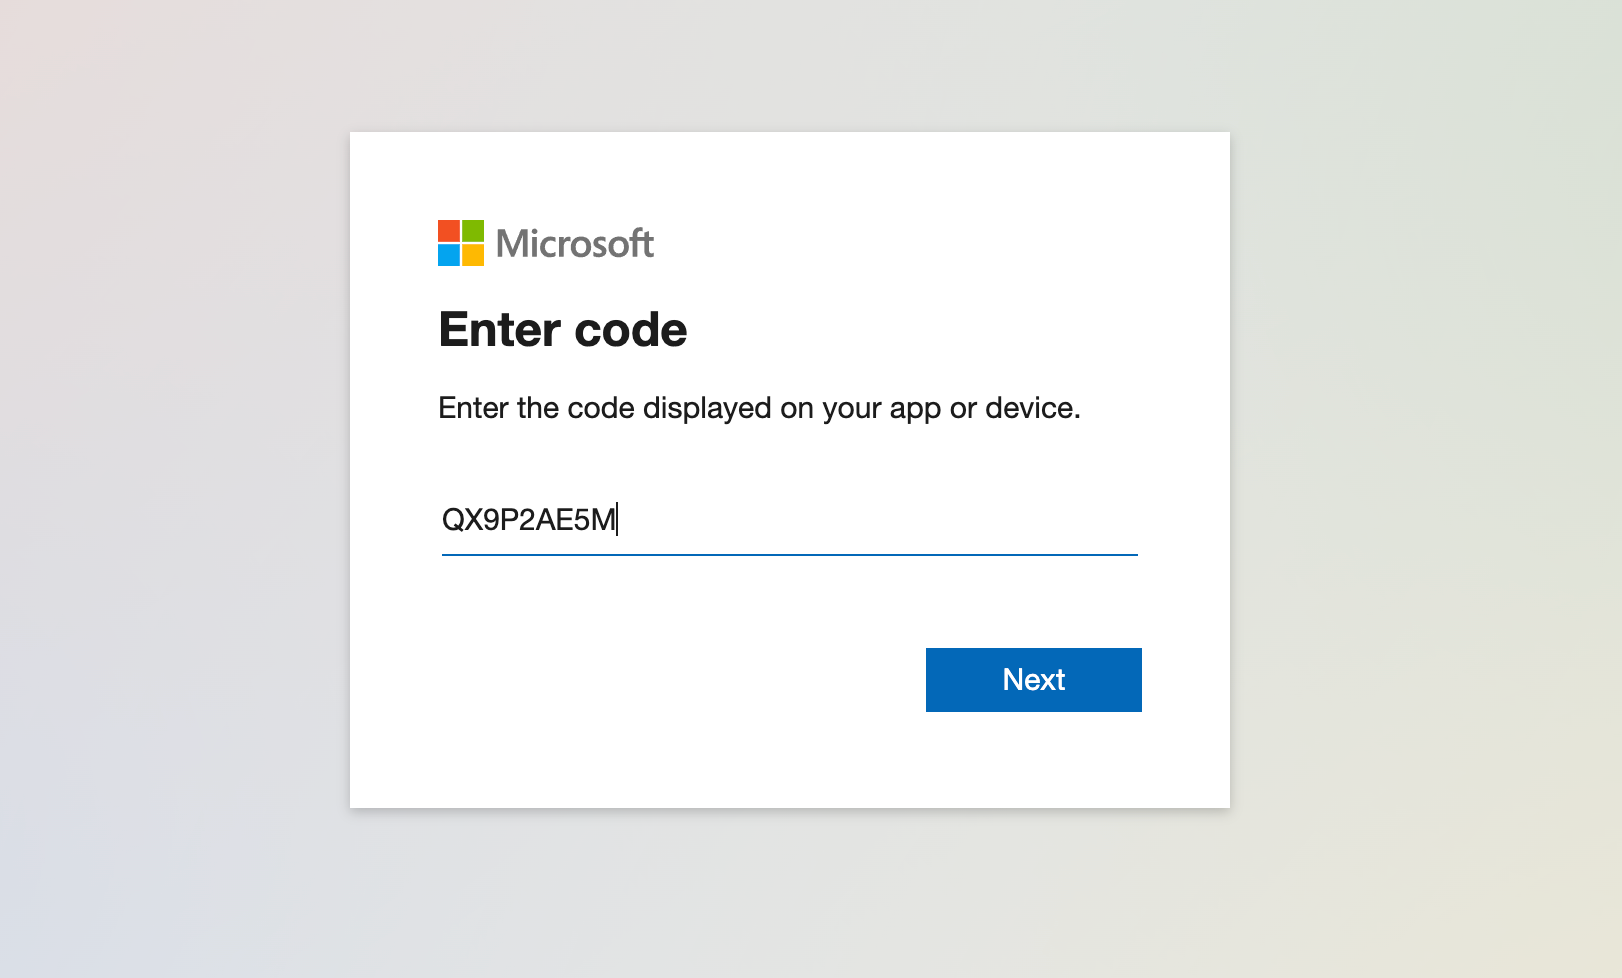
Enter the code
Select the account (or login) with the one for the organisation.
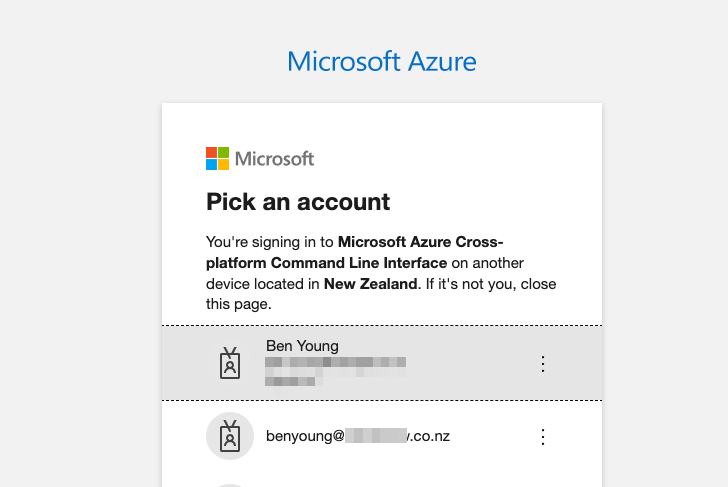
Then hit continue
Return to the Veeam Console and you will notice it shows you as being authenticated.

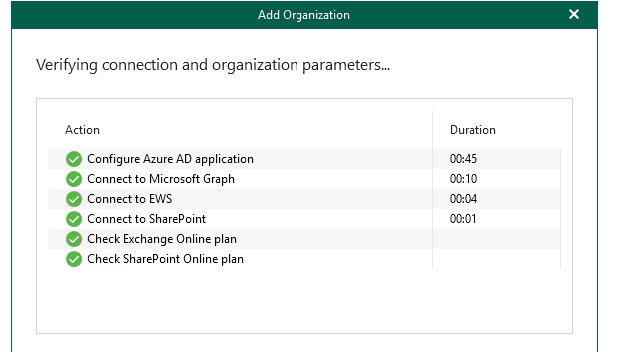
Hit next, Veeam will now configure the Azure application / check permissions, after a couple of minutes assuming you have the required permissions on the account you authenticated with you should have a sea of green tick ✅ icons.
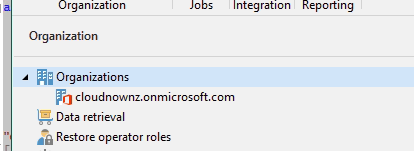
Hit finish, your organisation will now be listed on the left.
Adding backup jobs
I like to split my jobs out by type such as Exchange / Sharepoint / Teams / OneDrive.
Typically I also have matching repositories for these so i can control different retention on these items if I need too and will be particularly useful when / if we want to move only certain data to Archive (new feature) later.
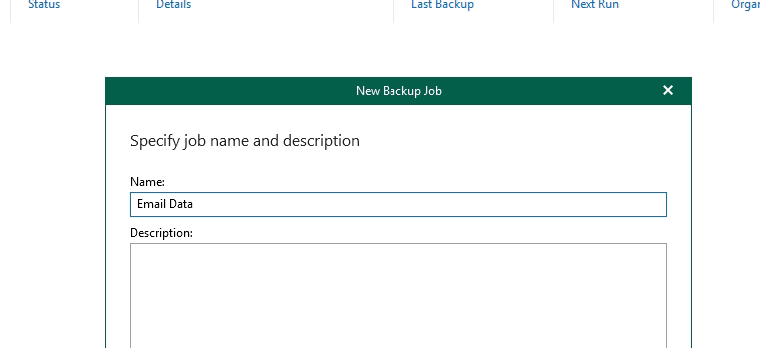
Let's create an email only job, you can then opt to do the same or backup the entire organisation - then I will move to create jobs for Sharepoint/Teams/OneDrive using this same process.
Give the job a name.
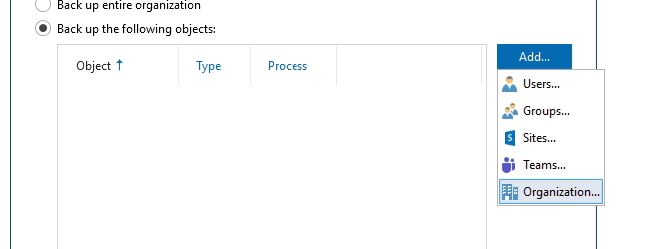
Select Backup the following objects then add Organisation - note that you could select individual users/groups etc at this point if you needed too.
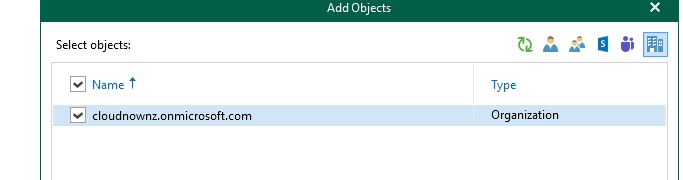
Then when your organisation is in the list - select it then the Edit button.

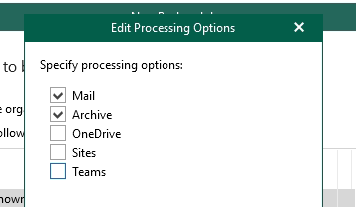
Select what to process here. For the email just Mail and Archive - the other options are there for your other jobs when you create them.
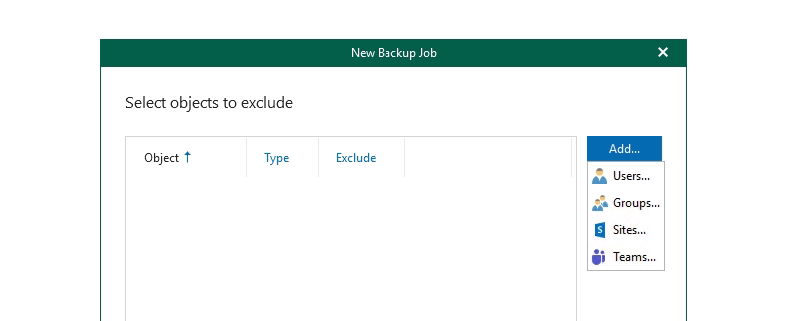
On the next page you can select any user/group/sites/teams exclusions - if here then Veeam will not back them up.
Then select that backup repository we created with the s3 offload.
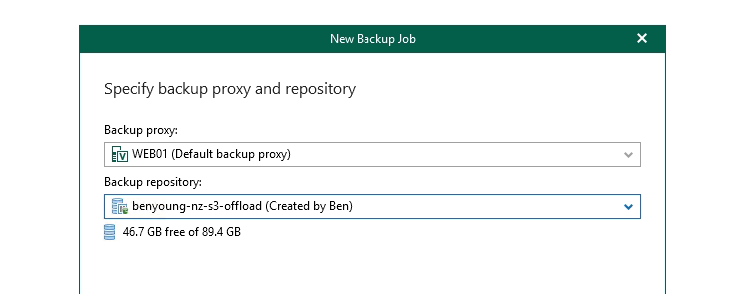
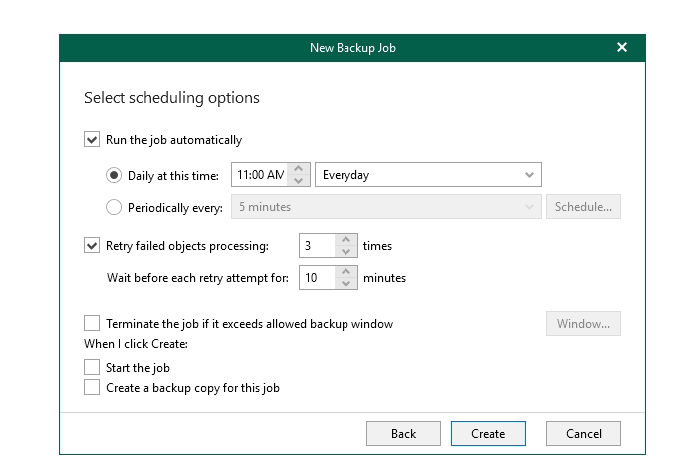
Hit next and the last page give you options of when you want to schedule this job to run and retry settings.
There is the copy job option too but we are not ready for that yet so just leave it for now.
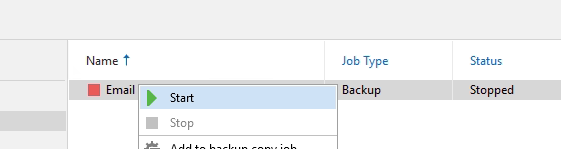
If you didn't elect to start the job on that last window you can right click > start
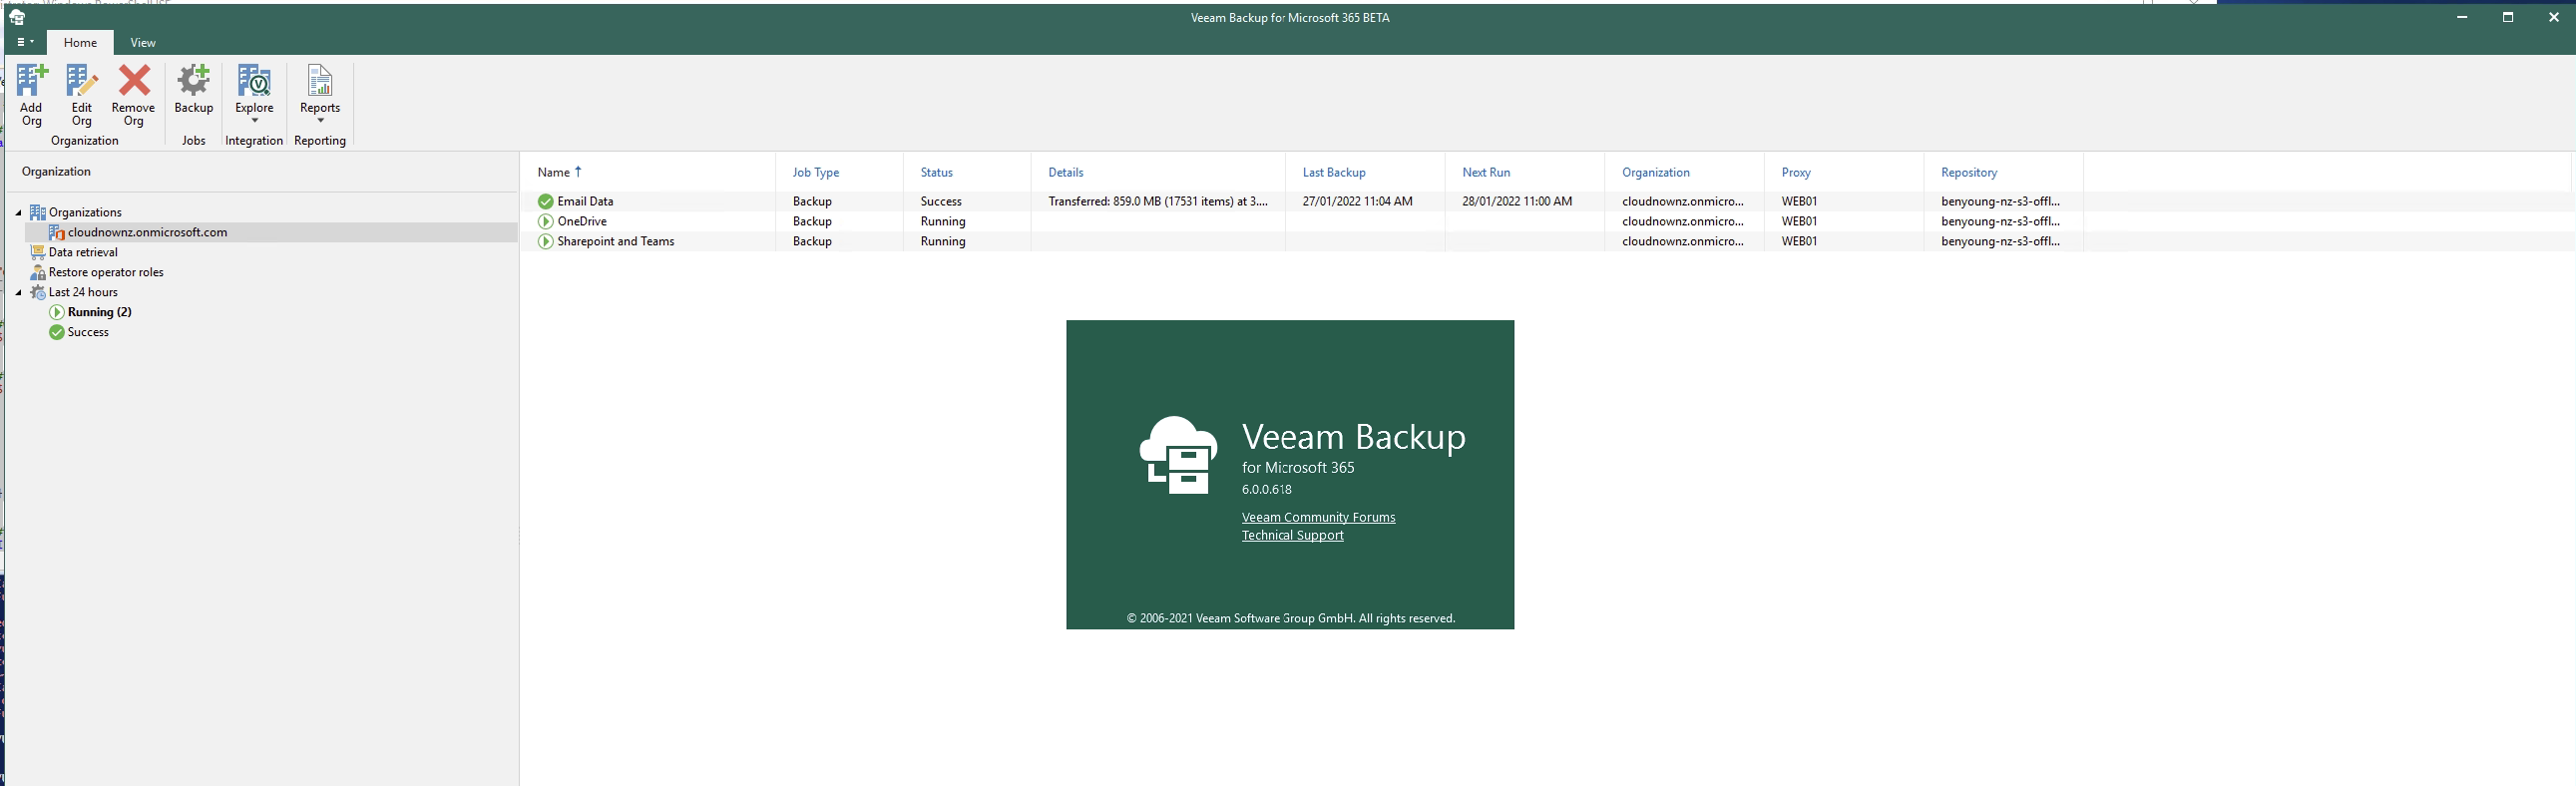
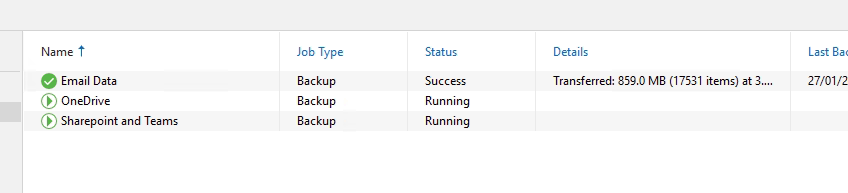
You'll see it connect and pull down the data in the history window.
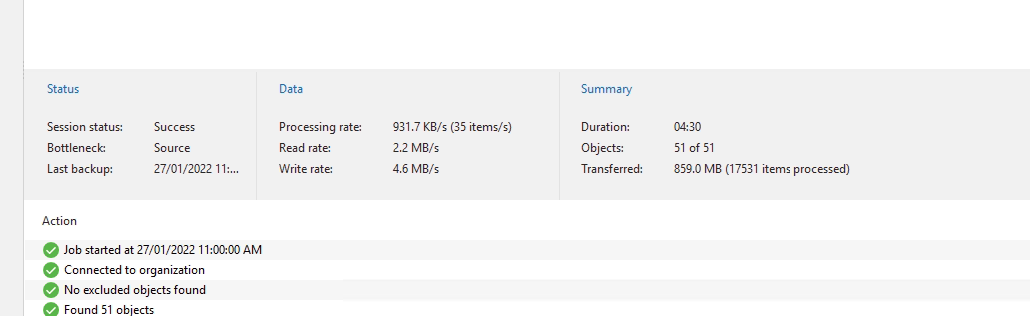
All jobs are now configured and running.
Restoring data
Let's take a look at how to through the explorers (not the new self-service restore portal) some data.
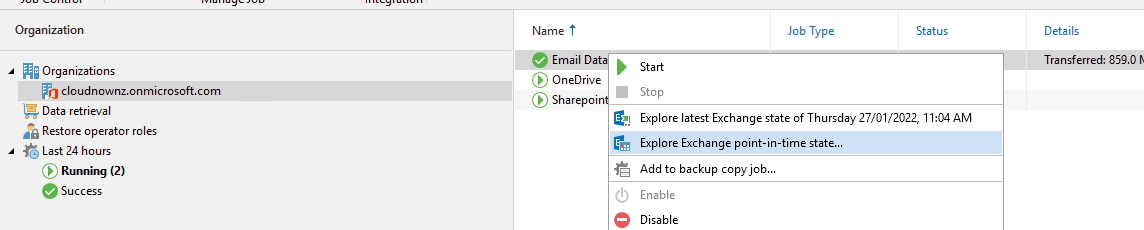
Right click one of your jobs, for me the Email job has finished running and select the explore point in time.
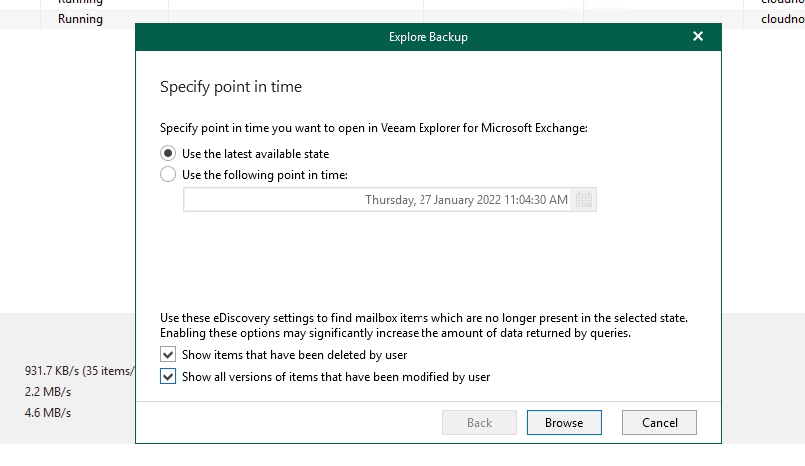
Select a certain time if you need, but as you build up your backup the options at the bottom around show items deleted and show all versions will be useful so I just get into this habit. Hit browse, the explorer will load.
This looks the same as previous v5 version so all the usual function around browsing data, comparing with production and restoring data is there.
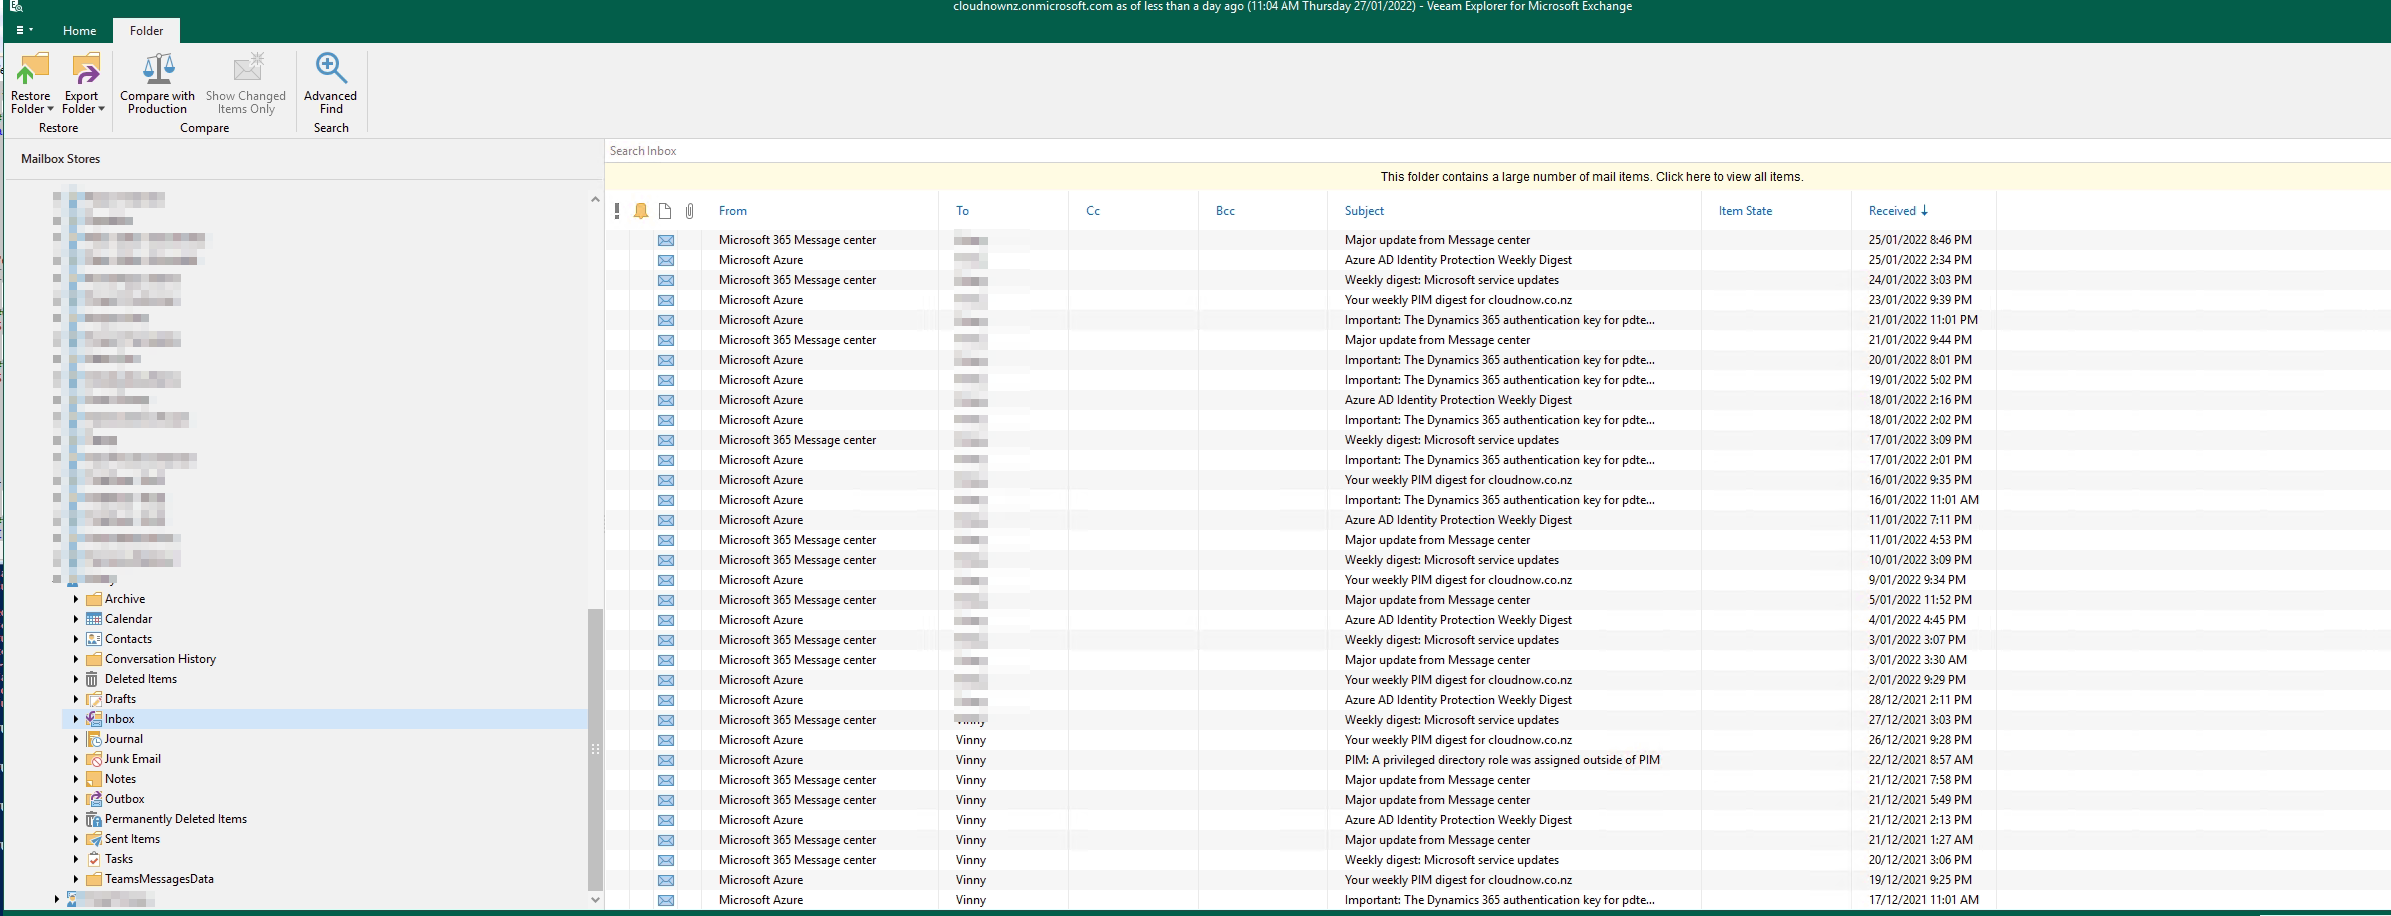
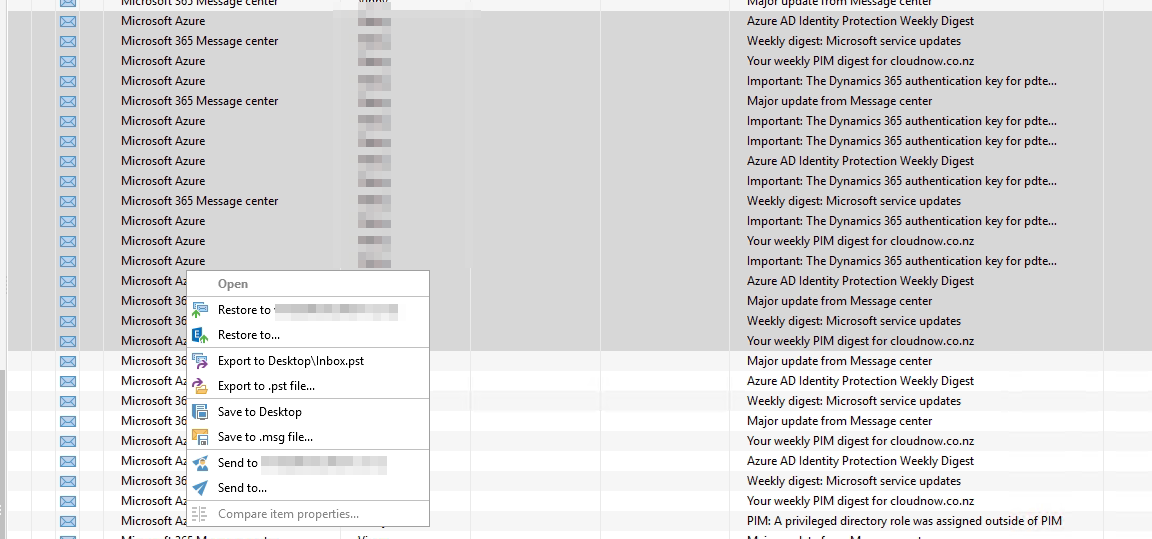
I can select some emails for example and download them to pst/save to desktop or restore back to the original mailbox - or another mailbox if this user no longer exists but we want to get the mail back to Exchange Online.
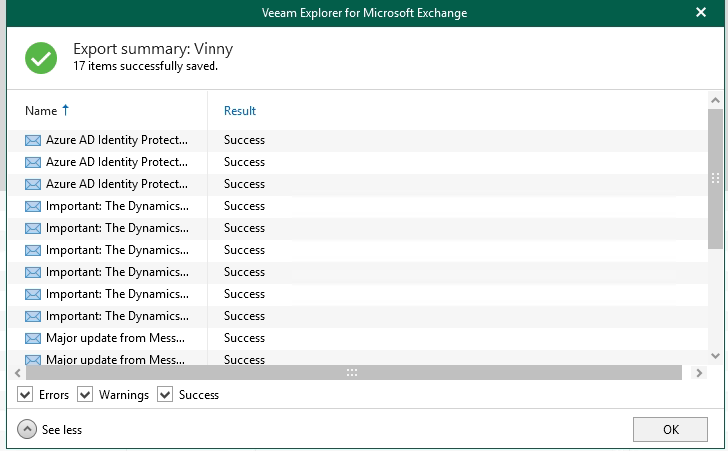
I opted to save them to my desktop, these come down really quickly from object storage and at the end you get a summary of what was restored.
Viewing restore actions
Often you may want to see what has been restored and by who - any action that is performed via the explorers is captured by this product so you have an audit log.
Pro-tip if you have sensitive data such as for CEO or Human resources group then you can get audit notifications sent as soon as this data is accessed, I have a post here detailing Veeam's Audit API for Microsoft 365.
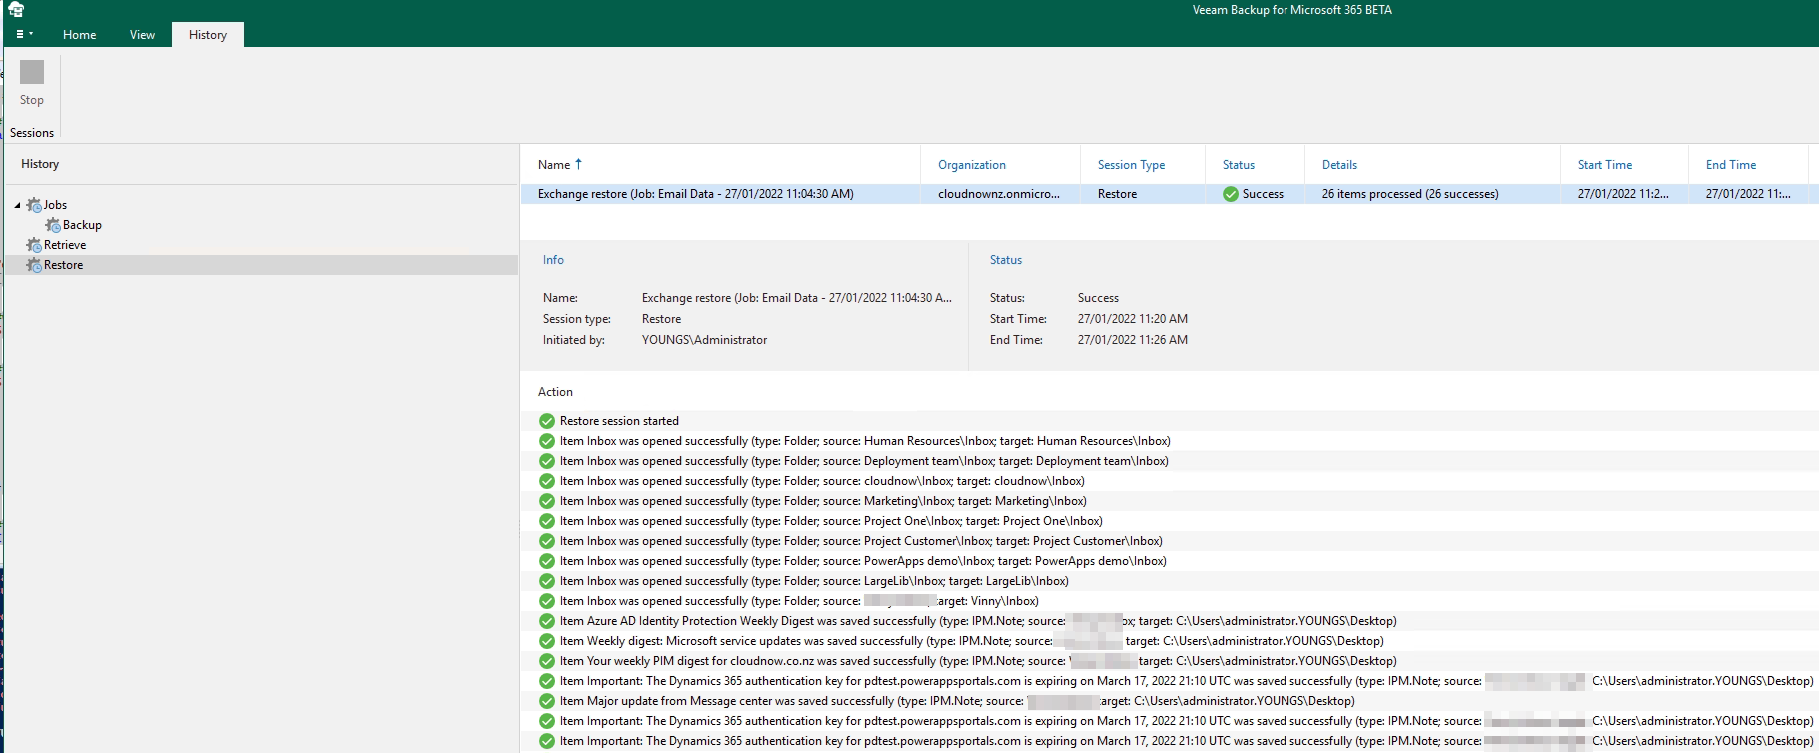
But in the VBO console itself under History there is a Restore section, you will see all restore operations as well as a granular log of what happened even just viewing data.
Now we have everything setup and running backups we can start to look at the Archive copy jobs and the Self-service restore portal.
So most (all) of this guide applies to version 5 which is the current GA release. Why not get started and up and running then you can upgrade to version 6 when its released and follow on with the archive tier.
Even better free for 10 users/10TB SharePoint, so there is no reason to get at it!
Download from Veeam's site here
That's it for today. Until next time.
