A number of products I work with a lot are now allowing object storage to be addressed directly. Most of these products prefer / only allow secure comms - rightly so.
I have a small container based Minio lab environment which I have been using for testing. Nothing fancy, resilient or even large but it works. Issue is this was not secured by default and if I am honest i could not be bothered modifying this environment to support it and I much prefer to have a proxy handle the TLS termination anyway. Also means depending on how you have deployed your Minio you can load balance between the nodes if you wish.
Configure IIS with Application Request Routing
If you have not already installed Application Request Routing (ARR) 3 then you can download/search for it using the Web Platform Installer or grab a copy from Microsoft.
Once installed you need to enable it.
- Open up the IIS Manager (inetmgr.exe)
- Click on the top level server node such as "WEBSERVER1"
- Under the IIS group, you will see an Application Request Routing, double click.
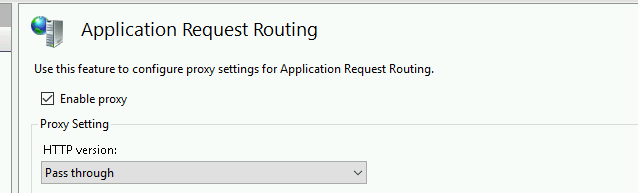
- On the right hand actions menu select Server Proxy Settings
- At the top of this click "Enable Proxy" and apply the settings on the right actions menu
preserveHostHeader Flag - Important!
One thing that took me a while to work out was that IIS was not preserving the host headers so authentication through to the Minio server was beging rejected /mismatched with the client.
To get around this you need to set the preserveHostHeader flag to true. You can do this via the gui and navigate to the config at the top level but simply open an administrator command prompt and run the following
%windir%\system32\inetsrv\appcmd.exe set config -section:system.webServer/proxy -preserveHostHeader:true /commit:apphos
Add website for proxy
Follow the normal process for adding a new site
Right click sites > add new site
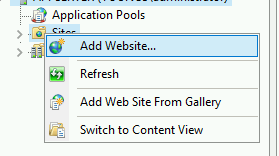
Then enter your host details and where you want site files to live which in this instance will only be a web.config file. Add it just over HTTP to begin with, we will secure it shortly and add an additional redirect to auto-elevate to HTTPS.

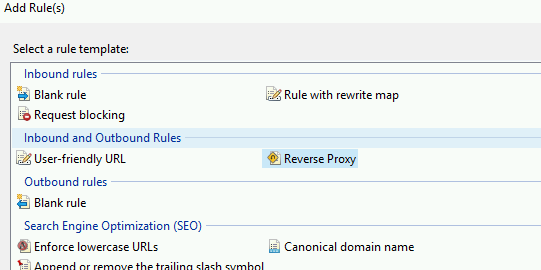
Now, click onto into your site and enter into the URL Rewrite module
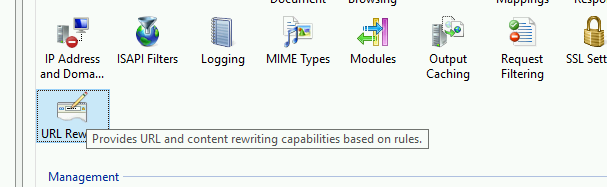
Click add rules and select Reverse Proxy
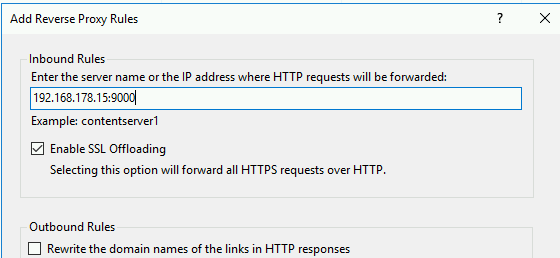
Then you need to enter the internal address for your minio node. Your install may vary but by default IPADDRESS:9000 - Note i have been lazy here and just using an ip address ideally you would have some internal DNS such as minio.yourlab.local:9000. Make sure you Enable SSL Offloading and note also you do not need to enter http:// here.
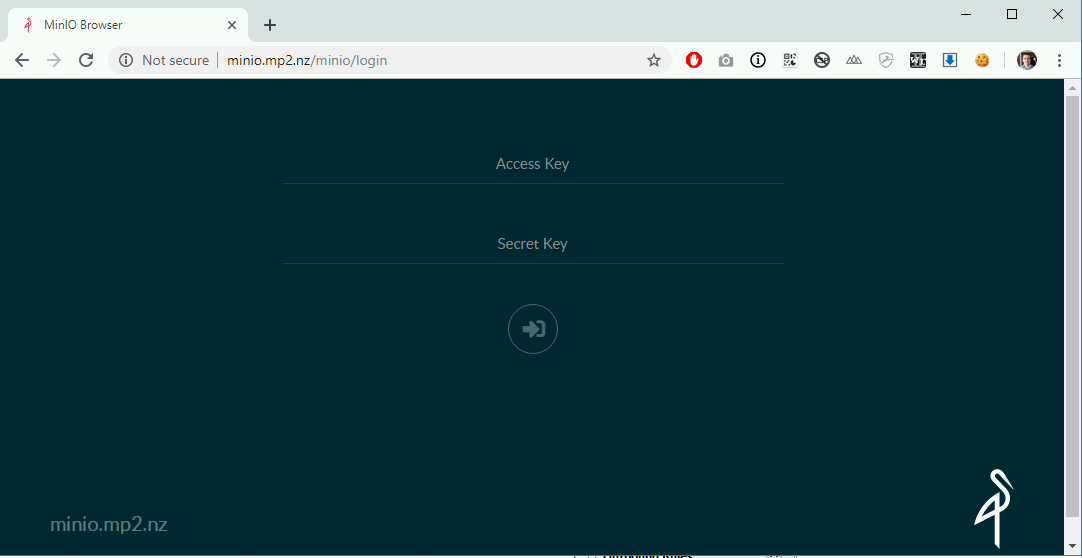
Check you can hit your website on your configured name of plain old HTTP, make sure you have the correct DNS setup.
Now we need to add an SSL certificate to the site, just follow normal procedure here by getting the certificate into IIS, for example:
- Import under WEBSERVER > Certificates
- Generate a new CSR and request a new cert from a signing authority under WEBSERVER > Certificates
- I like using Lets Encrypt as it's free so perfect for a lab environment - I am like using a tool built for handling the renewals from Lets Encypt/automatic binding to your site in IIS called Certify the web - check it out
- Or any other way you can think of getting the cert into IIS
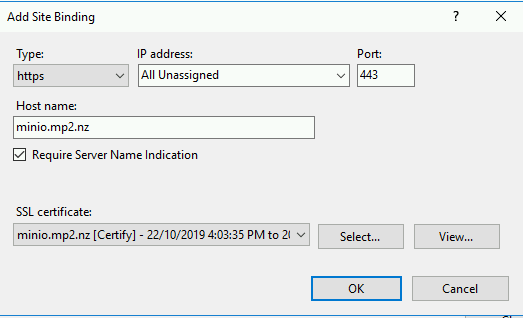
Now apply the HTTP binding onto your site so go back to your site in IIS Manager
Select Bindings from the right side action pane then Add
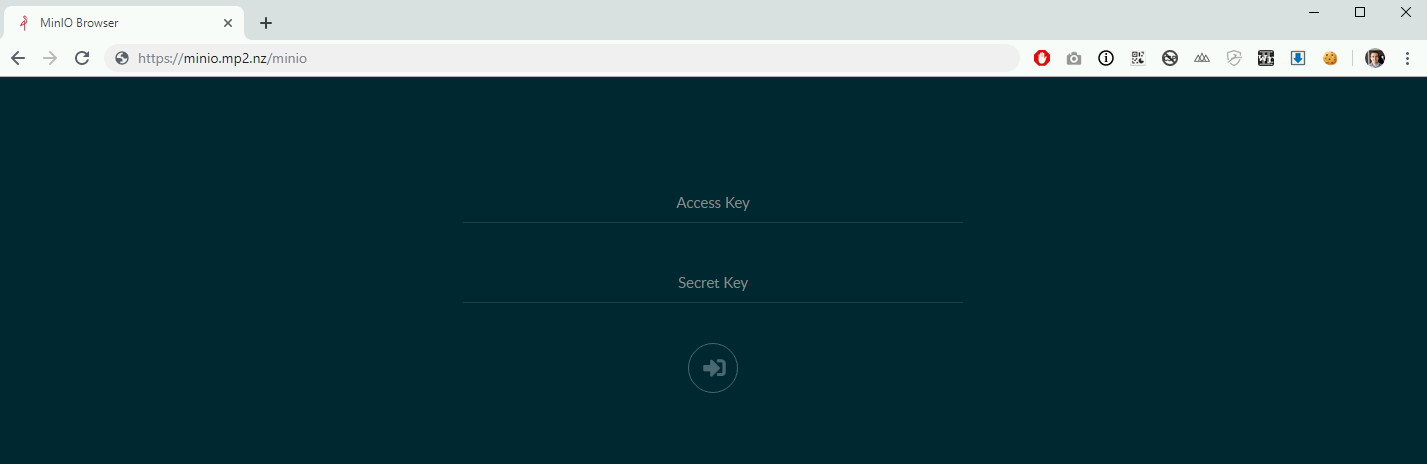
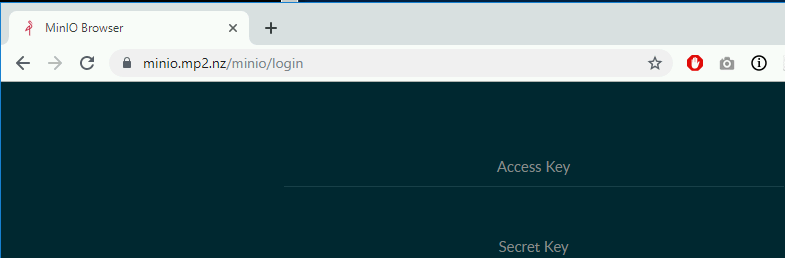
Test your site again this time with https:// and you should have the padlock and your minio is now secured with tls.
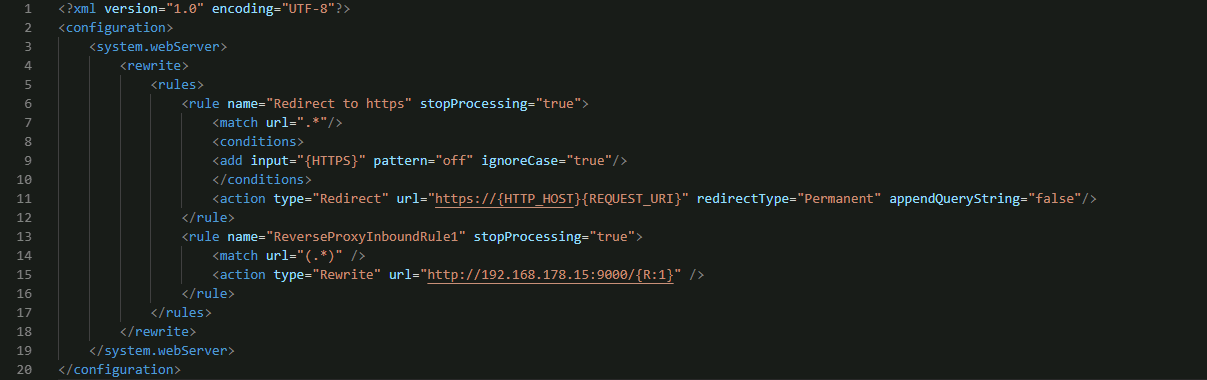
One last thing to do is to enforce HTTPS and have all HTTP requests redirect, open up the web.config file and enter this in the system.webserver > rewrite > rules node (you will already see your Reverse Proxy rule, put it above this one.
<rule name="Redirect to https" stopProcessing="true">
  <match url=".*"/>
  <conditions>
   <add input="{HTTPS}" pattern="off" ignoreCase="true"/>
  </conditions>
  <action type="Redirect" url="https://{HTTP_HOST}{REQUEST_URI}" redirectType="Permanent" appendQueryString="false"/>
</rule>
Your config should look similar to the following - save the file.
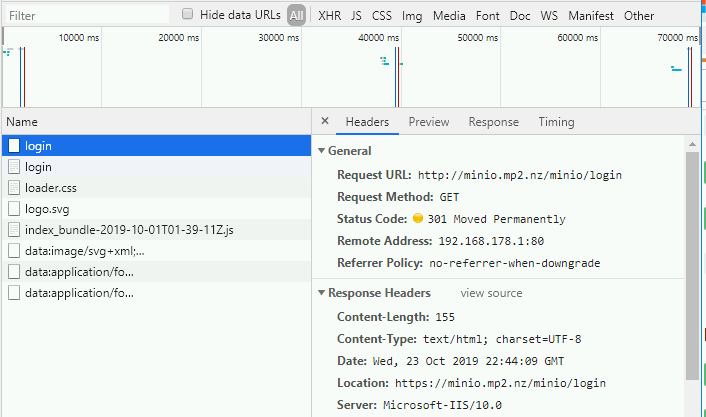
Then try hit your site address again over HTTP and note you will be redirected to HTTPS automatically.
That's it!
I will do another post about how to achieve the same thing using NGINX.
