Now that we have a cluster up and running (see part 1) I wanted to add a storage class for workloads to dynamically request and provision storage as required.
I have a Synology DS1621XS+ NAS here with a bunch of disk, nvme cache and 10gbe ethernet so wanted to make use of this, via NFS.
Synology Setup
I already have the NFS services running on my NAS so this is the first step if you have not done so already (control panel > file services)

Now it is time to create a shared folder. I opted for the name CLOUDNATIVE1. Under control panel > shared folder create the share.
Give the share a name, select your desired volume, disable the recycle bin.
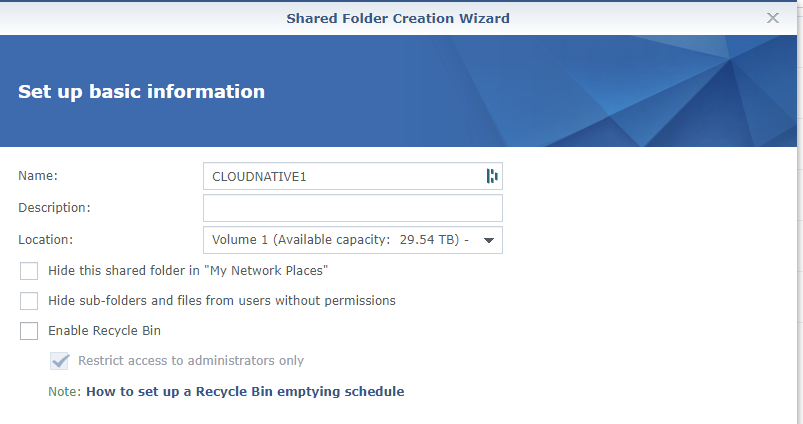
If you wish, enable encryption on the next page, and if desirable set a quota on the next screen.
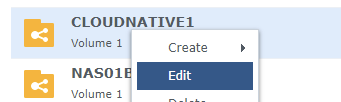
Apply in the wizard to create the share. Now, right click the share and edit.
Under NFS Permissions click create, and fill in you hostname/ip settings. I went with my entire subnet allocated for the LAB for ease of use but you may wish to lock this down more or have specific node addresses etc.
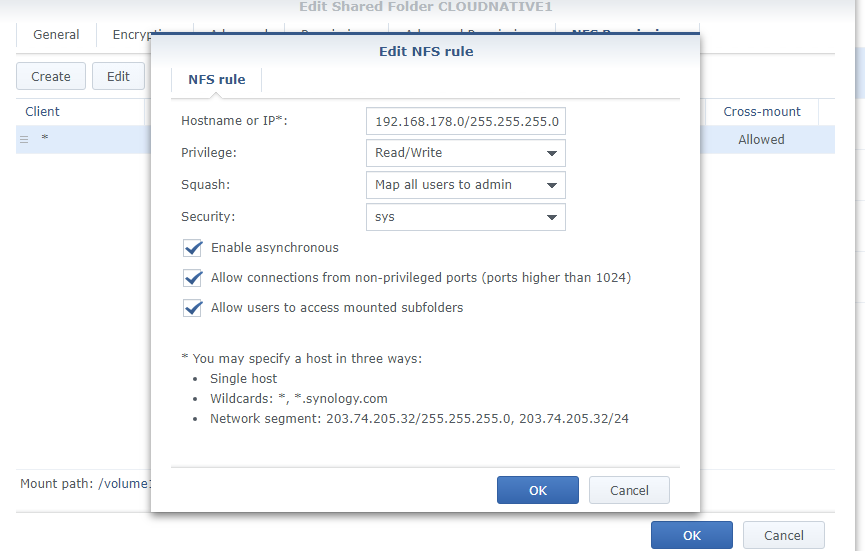
You will note a few settings I found this worked best
- Hostname/IP - As desired by you
- Privilege - Read/Write
- Squash - Map all users to admin
- Security - sys
- Enable Asynchronous - yes
- Allow connections from non-privileged ports - yes
- Allow uses to access mounted sub folders - yes
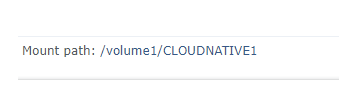
Now take note of your path, pretty much /[volume name]/[shared folder name], in my case /volume1/CLOUDNATIVE1 . You can see it bottom left in the NFS permission window.
That is all that is needed on the Synology side.
Adding the nfs-client-provisioner to your cluster
We now need to run a few commands against the cluster with kubectl.
First, add the following helm repository - you can view the project here on github for more information.
helm repo add nfs-subdir-external-provisioner https://kubernetes-sigs.github.io/nfs-subdir-external-provisioner/
Now that is added, you can install the chart with the following command, just switch out the nfs.server and nfs.path to your specific settings.
helm install nfs-subdir-external-provisioner nfs-subdir-external-provisioner/nfs-subdir-external-provisioner \
    --set nfs.server=192.168.178.140 \
    --set nfs.path=/volume1/CLOUDNATIVE1

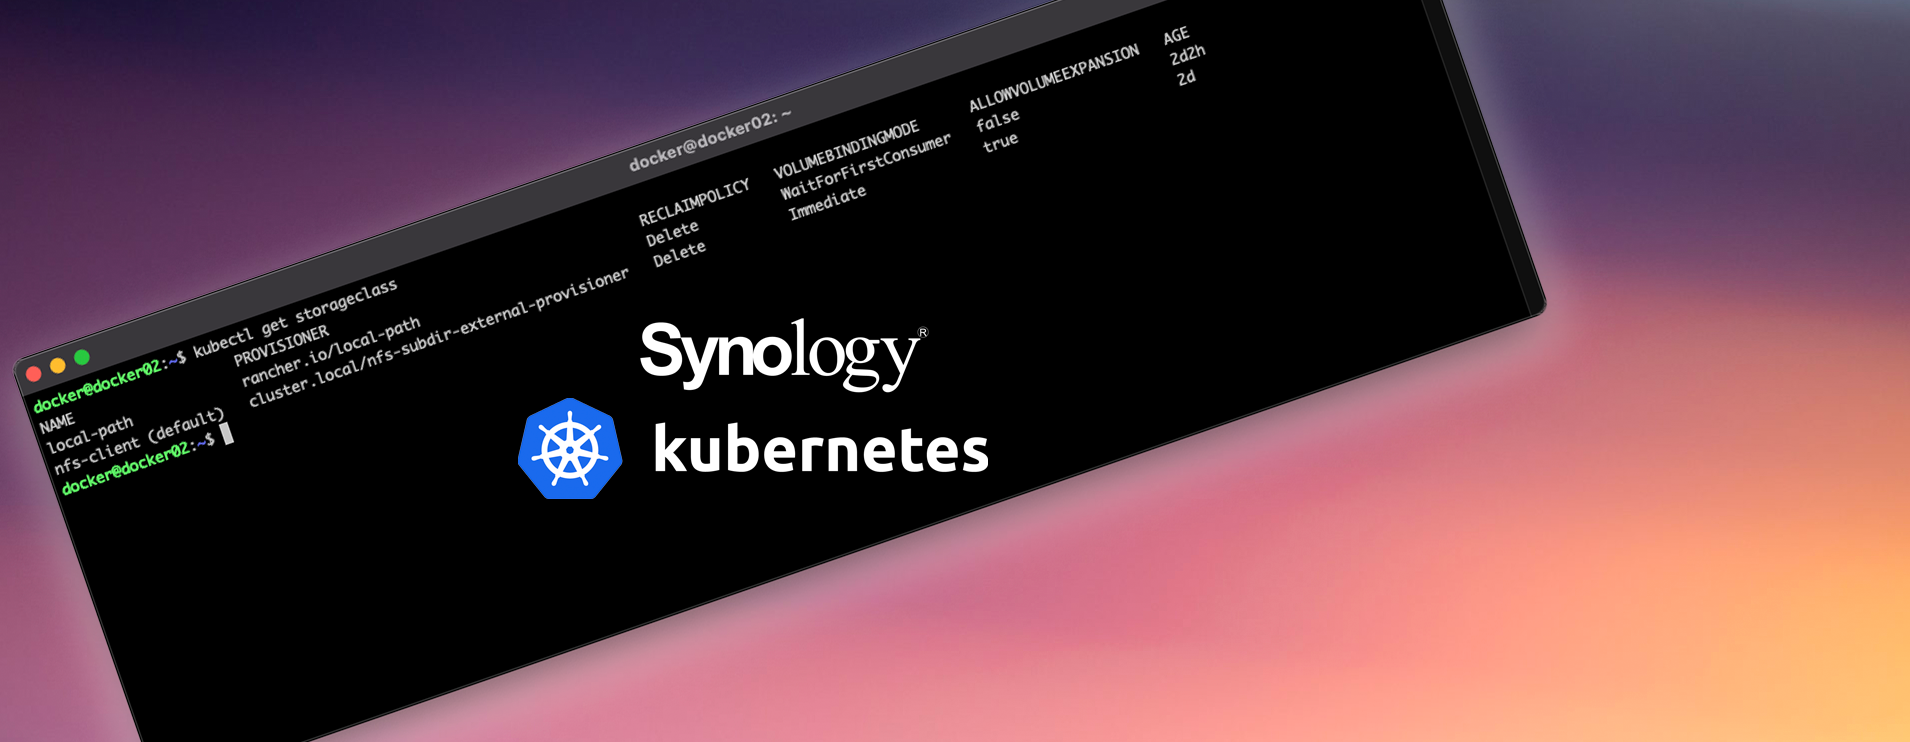
Now the storage class has been added you can confirm this by running
kubectl get storageclass
You will note however that it is not the default, in my cluste the local-path storage class is still the default. To remedy we just need to issue a couple of commands, take note of the names of your storage classes and run.
set current local-path to non-default class first
kubectl patch storageclass local-path -p '{"metadata": {"annotations":{"storageclass.kubernetes.io/is-default-class":"false"}}}'
Then set our fns class as the default
kubectl patch storageclass nfs-client -p '{"metadata": {"annotations":{"storageclass.kubernetes.io/is-default-class":"true"}}}'
Once that is done run kubectl get storageclass again to verify and you can see it now has (default) after the nfs class.

That's it in terms of a basic configuration, there are a few other parameters you can set during deployment and they are available on the readme in the project on github.
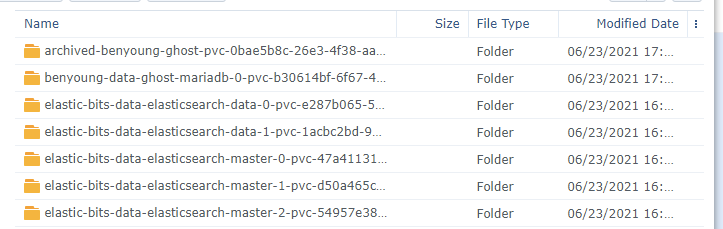
Now if you provision some workloads if they ask for persistent storage they will get it via the NAS, as below you can see a few that i have running here already.
What next?
In a followup post I will show you how to
- Deploy Rancher so I can login and manage my cluster, view performance metrics, deploy things a littler easier than basing away in command line
- Backup workloads using Veeam's Kasten suite
You can view the previous items in the series here
- Setting up the Kubernetes cluster with k3os, k3s and cloud-init
