My lab at home has been lacking a proper Kubernetes environment. To date all I have really had are some standalone single node that was typically kind (Kubernetes IN docker).
Time to grow it up a little and have multiple nodes (virtual) that I can start to play around with a few more things.
Objectives
- K3s
I wanted to run K3s vs a full blown K8s environment. After watching a number of videos and doing some reading I really like what Rancher are doing over there with this project. Heaps smaller footprint. - K3os (operating system)
Rancher even have a linux distribution with a minimal footprint and purpose built to run K3s so this sounded great - Cloud-init
Initially i wanted to go the full blown terraform/IaC route and provision the nodes, inject configs etc but decided as a minimal viable product I would settle for some nodes i could clone from a base template in vSphere and just have individual cloud-init files, more on this in a bit.
Prep work
Ahead of time i did the following
- Preallocated some addresses on the network for the nodes
- Created dns entries for {nodename}.youngs.local
Template setup
In vSphere i have created a node template, an empty shell VM with the following specs i can quickly clone.
- 4 vCPU
- 24gb Memory
- 20gb disk
- K3os iso mounted
Note: Your nodes don't need to be this small/big, just size appropriately for your environment. K3os and K3s run fine on raspberry pi devices so they can be fairly small if you want them to be!
Cloud-init Setup
I see a lot of users online using various pastebin type services for running these by here is my setup
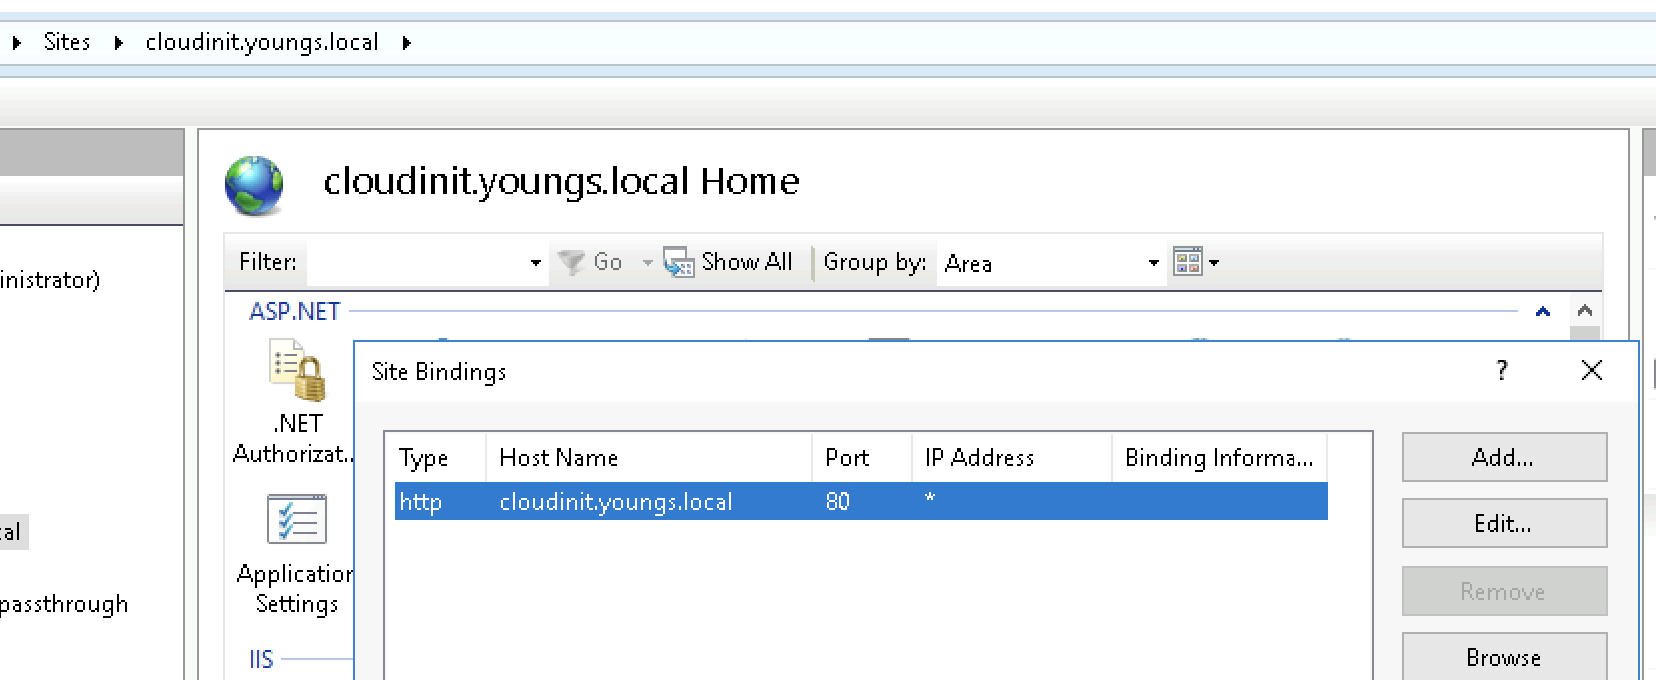
- Website on a local webserver with the dns address cloudinit.youngs.local
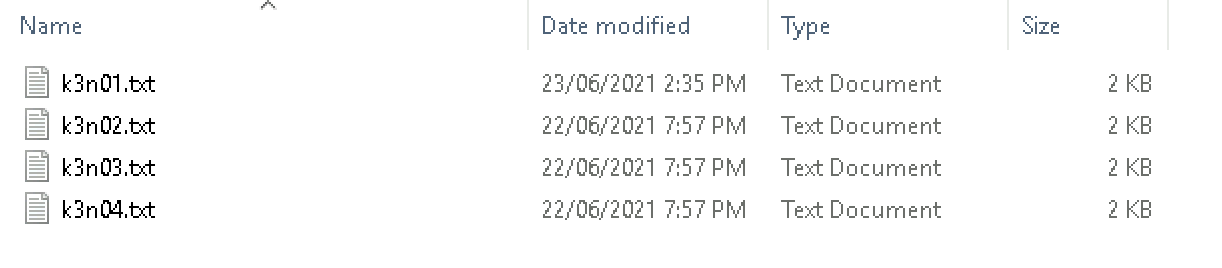
- Place configuration files in the root directory as text files named with the node name
- I have 4 files, K3N0[1-4].txt
- K3N01 is my server node
- K3N02-4 are my agent nodes
Root directory of website
And then the IIS setup itself, dns records for cloudinit.youngs.local created on the local DNS server
So, the cloud-init files are very similar, all that changes really are the ip addresses + there is a slight variation between the server and the agent files. Let's take a look.
The server node yaml file, this is effectively the master and is what the agents will connect back to once they come online.
ssh_authorized_keys:
- ssh-rsa AAAAB3NzaC1yc2EAAAA....
- ssh-rsa AAAAB3NzaC1yc......
- github:benyoungnz
write_files:
- path: /var/lib/connman/default.config
  content: |-
    [service_eth0]
    Type=ethernet
    IPv4=192.168.178.75/255.255.255.0/192.168.178.254
    IPv6=off
    Nameservers=192.168.178.15
    SearchDomains=youngs.local
    Domain=youngs.local
    TimeServers=ntp4.ntp.net.nz,ntp2.ntp.net.nz
hostname: k3n01

k3os:
  data_sources:
  - aws
  - cdrom
  modules:
  - kvm
  - nvme
  password: yoursuperpasswordhere
  token: zsQh822mPWh32423j4jk23h4jdddZInCxVnm0FxLkV
  k3s_args:
    - server
So, looking through the file from top to bottom
ssh_authorized_keys
List your authorised public keys here so you can remote onto the nodes later
write_files
This section writes the connman configuration so that we can setup the appropriate network configuration such as ip address, gateways, dns servers, ntp, search domains etc - configure as required on your end.
hostname
The hostname of the node
Then we get into the k3os specific settings of note
password
The "rancher" user password for the server if you need to login via the console
token
The cluster secret (or node token if it matches that format), every node will use this value
k3s_args
Anything specific, only my server node has this and we put the - server value in there to tell this node it is a server node not an agent. If you would prefer for this node to not be an agent role (worker node) in your cluster you can do this by passing another value of "--disable-agent", i want this sever node to work so have omitted it.
For the agent nodes you will see below we omit the k3s_args completely and instead have a server_url set to the dns/ip address of the server node
... rest of file above
  password: yoursuperpasswordhere
  token: zsQh822mPWh32423j4jk23h4jdddZInCxVnm0FxLkV
  server_url: https://k3n01.youngs.local:6443
Once you have your first agent file then copy paste, adjust the ip address and hostname to match your desired configuration and there you have it ready to be accessed by the cloud-init process in K3os.
Deploy Nodes
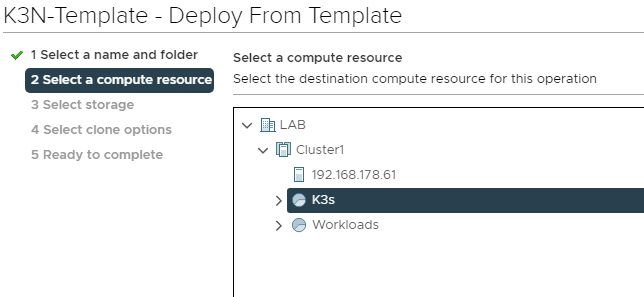
When ready to deploy a node, clone from template
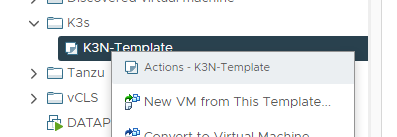
Then give it the appropriate node name and desired resource pool/folders etc
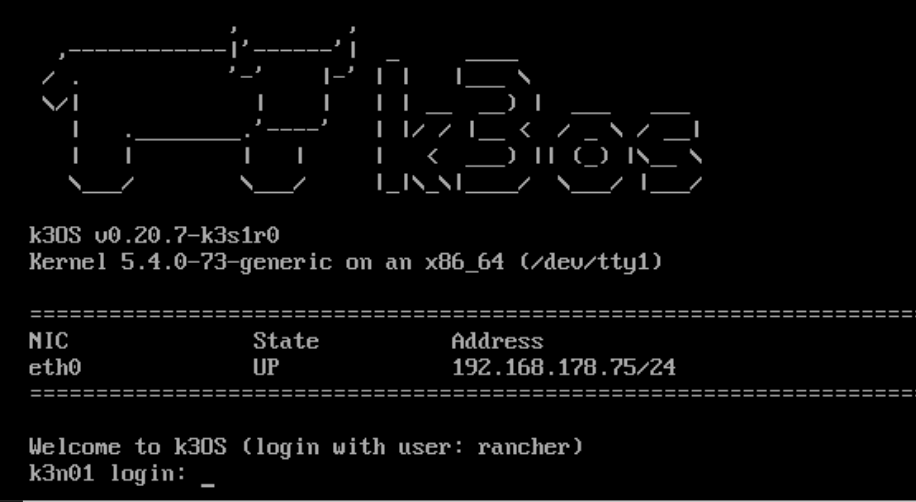
Now we can boot this node up, pop the VM console and it will jump into the live installer from the mounted Rancher OS ISO file
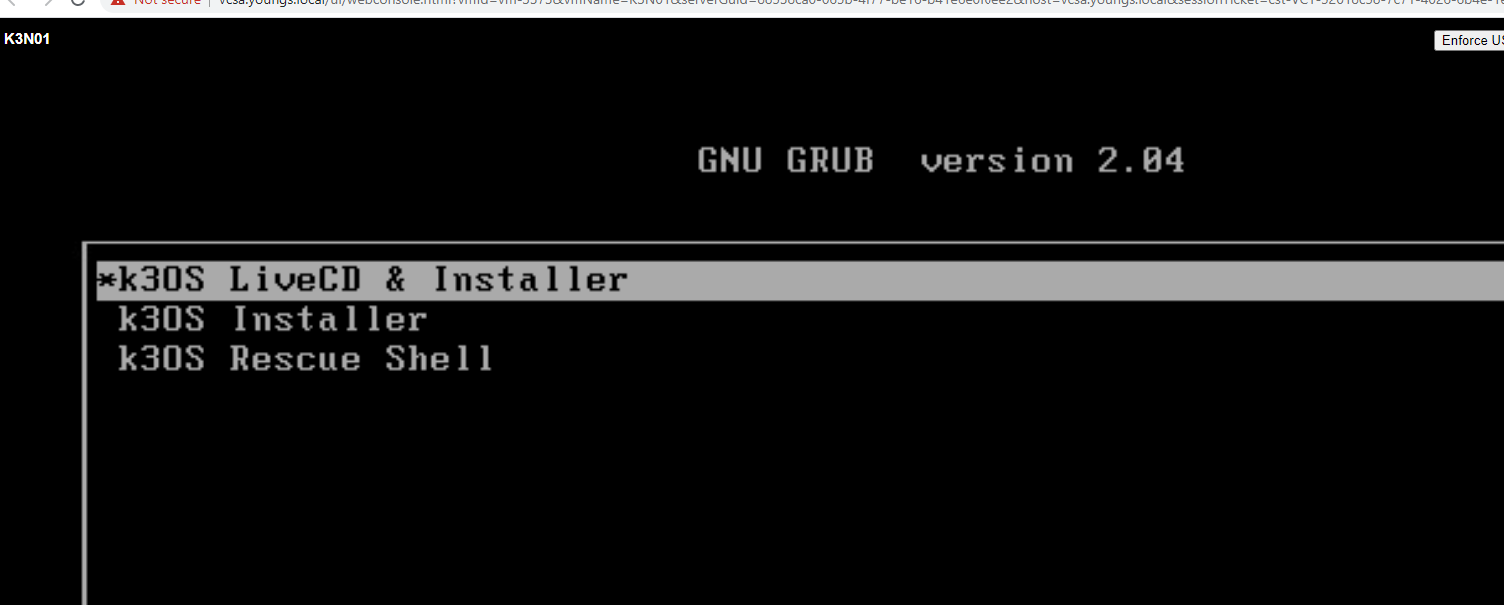
Once its there, if DHCP etc is enabled on your network it will come up and is ready for you to install.
Login by typing rancher into the terminal
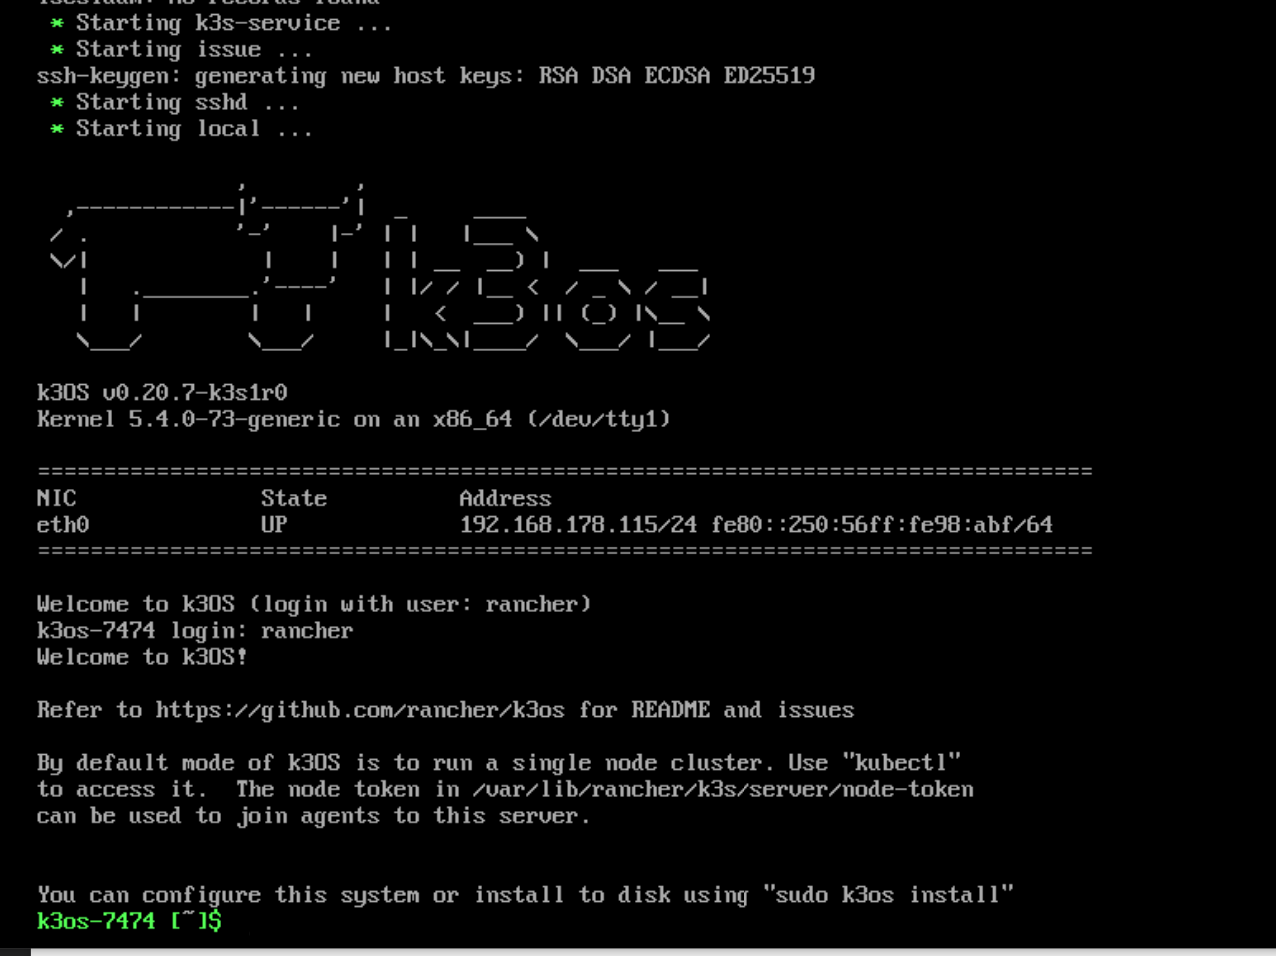
Now we are ready to install the OS to the disk.
Enter the following command
sudo k3os install
- Select option 1
- Enter y to config the system with a cloud-init file
- Enter the path to you cloud-init file relating to the node you are building such as http://cloudinit.youngs.local/k3n01.txt
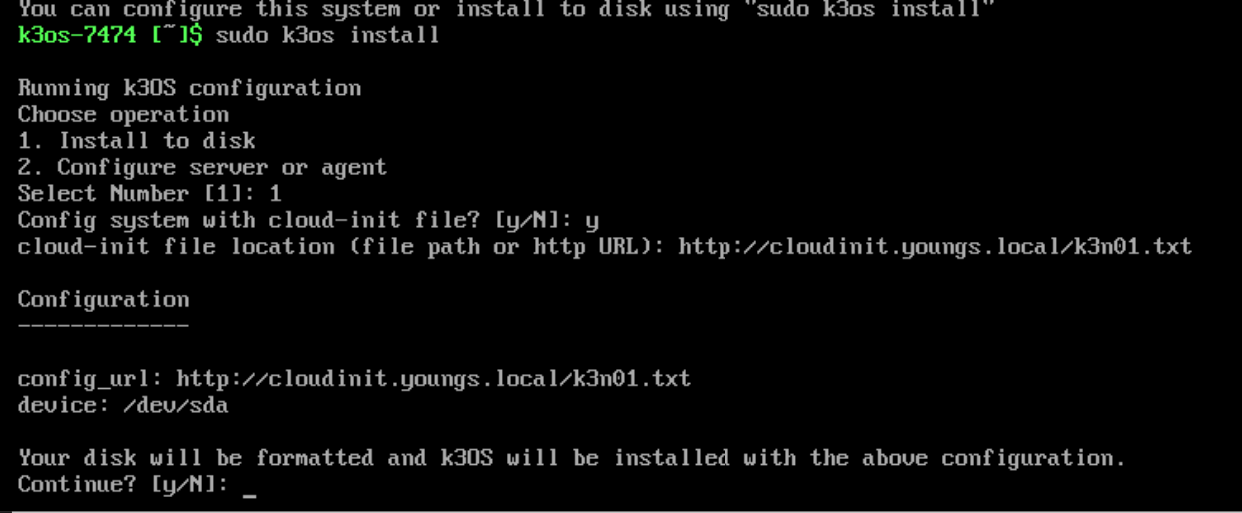
Select y once more and the installer will run, the machine will reboot and if your file is correct it will have the correct IP settings, node name etc
You can see during the boot it writing the network connman file to the correct location per your cloud-init file

And just like that, our first (server) node! Moooooo!
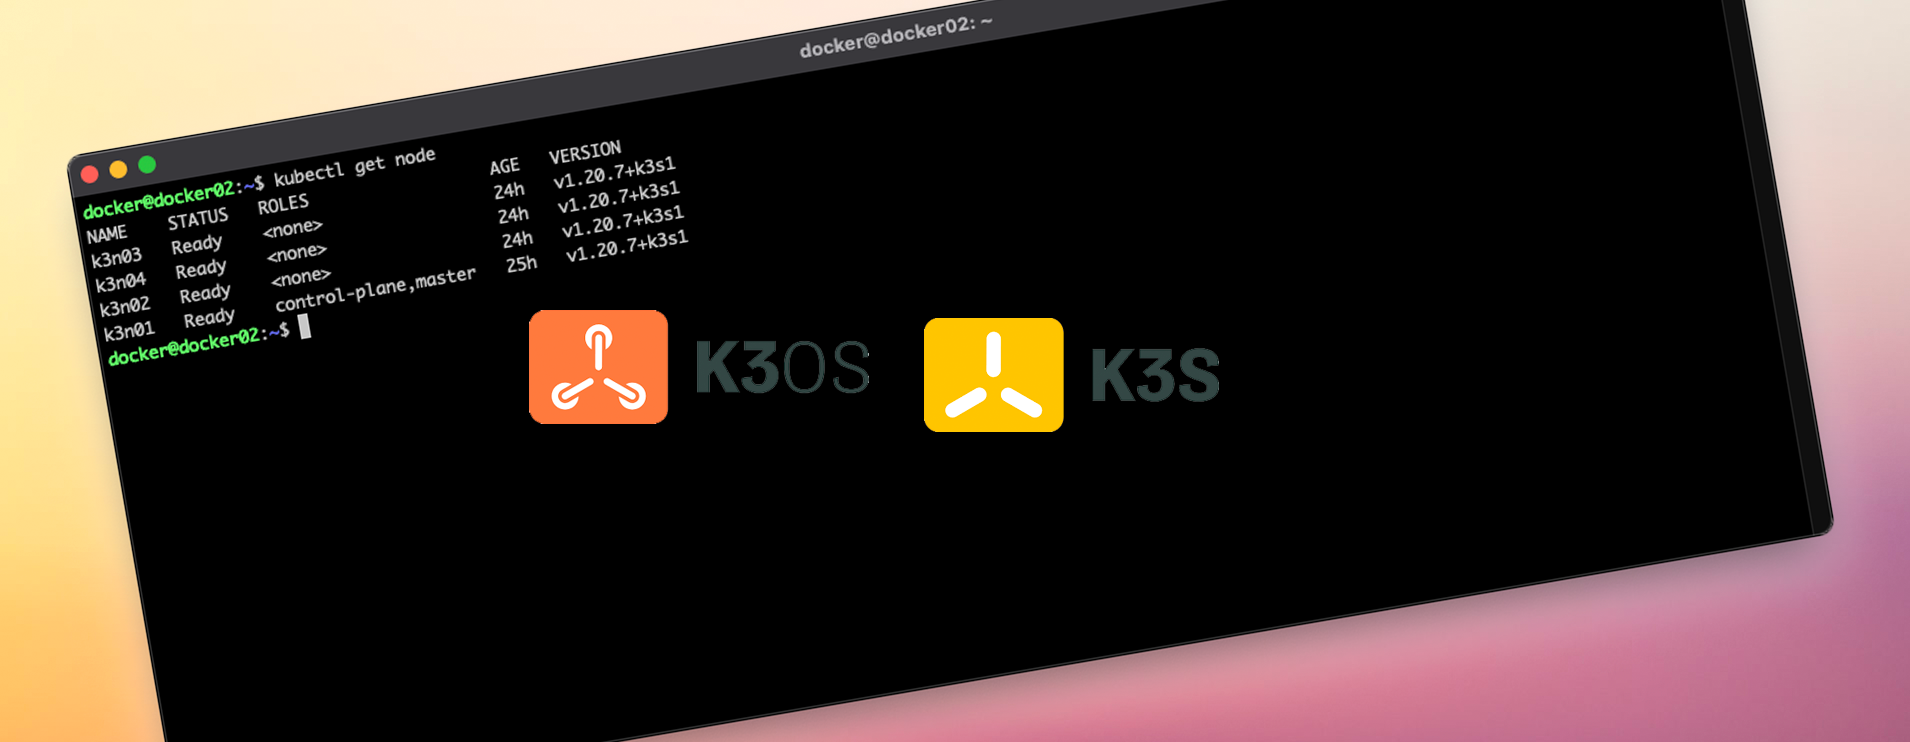
If you login (either via the console or ssh) and run kubectl get node you will see we now have a single node up and running - assuming you did not put the --disable-agent flag in.

Check that SSH works before you build the rest of the cluster, I learnt the hard way....
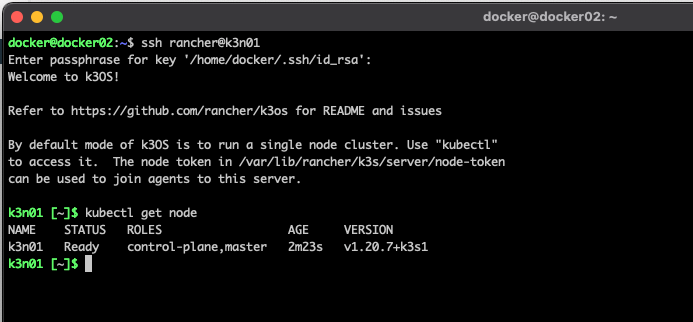
Ok great, server node running and remote access is a go. Now you can deploy the agent nodes.
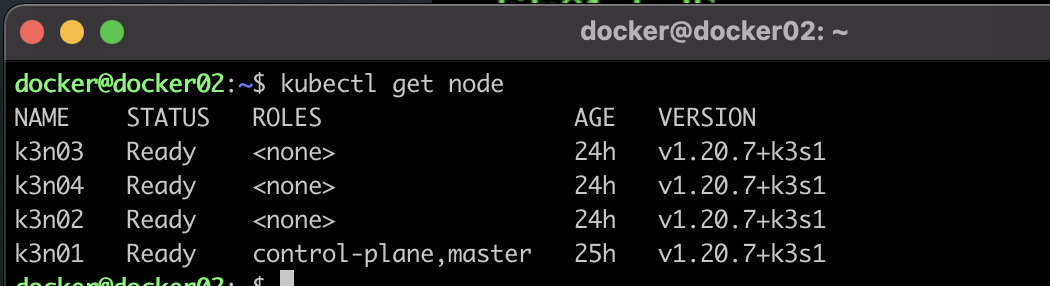
Rinse and repeat the process above but change the cloud-init file each time to match the node you are deploying.
And in no time you will have something that looks like this! A 4 node cluster deployed in about 5 minutes with right prep work, also a very easy path now to expand the cluster using the same process.
What next?
In a followup post I will show you how to
- Deploy Rancher so I can login and manage my cluster, view performance metrics, deploy things a littler easier than basing away in command line
- Add a nfs backed storage class via the nfs-client-provisioner allowing workloads to create storage on demand to my Synology NAS via NFS
- Backup workloads using Veeam's Kasten suite
