Now that we have a cluster up and running (see part 1) and some persistent NFS storage (part 2) it is time to deploy Rancher so I have a nice management interface for the cluster.
Pre-requisites
Certmanager
First off we need to add certmanager to our cluster, unless you are bringing your own certificates via files (not covered here). But if you are wanting to use LetsEncrypt or Rancher generated this is needed.
Install the CRDs for cert manager
kubectl apply --validate=false -f https://github.com/jetstack/cert-manager/releases/download/v1.0.4/cert-manager.crds.yaml
Create the namespace
kubectl create namespace cert-manager
Now add the jetstack helm repo and do an update
helm repo add jetstack https://charts.jetstack.io
helm repo update
Now install cert-manager
helm install \
  cert-manager jetstack/cert-manager \
  --namespace cert-manager \
  --version v1.0.4
Now you can verify the install an you should see something similar to the following.
kubectl get pods --namespace cert-manager

Cattle-system namespace
We also need to create a namespace on the cluster for Rancher to be provisioned into. This can be what you like but I went with the default cattle-system namespace.
Run the following command
kubectl create namespace cattle-system
Installing Rancher
Now the perquisites are installed on to the main course.
You have a few options when installing
- Hostname you want Rancher to be listening on
- Replicas, up to you depending how many nodes etc you have
- Namespace == the namespace you created earlier
- If you are wanting to use LetsEncrypt youll need to also set the --set ingress.tls.source=letsEncrypt \ --set letsEncrypt.email=me@example.org options too.
Run this command to install rancher
helm install rancher rancher-latest/rancher \
  --namespace cattle-system \
  --set hostname=rancher.mp2.nz \
  --set replicas=3
Now monitor the rollout with
kubectl -n cattle-system rollout status deploy/rancher
Once complete you will see "rancher" has been successfully rolled out,

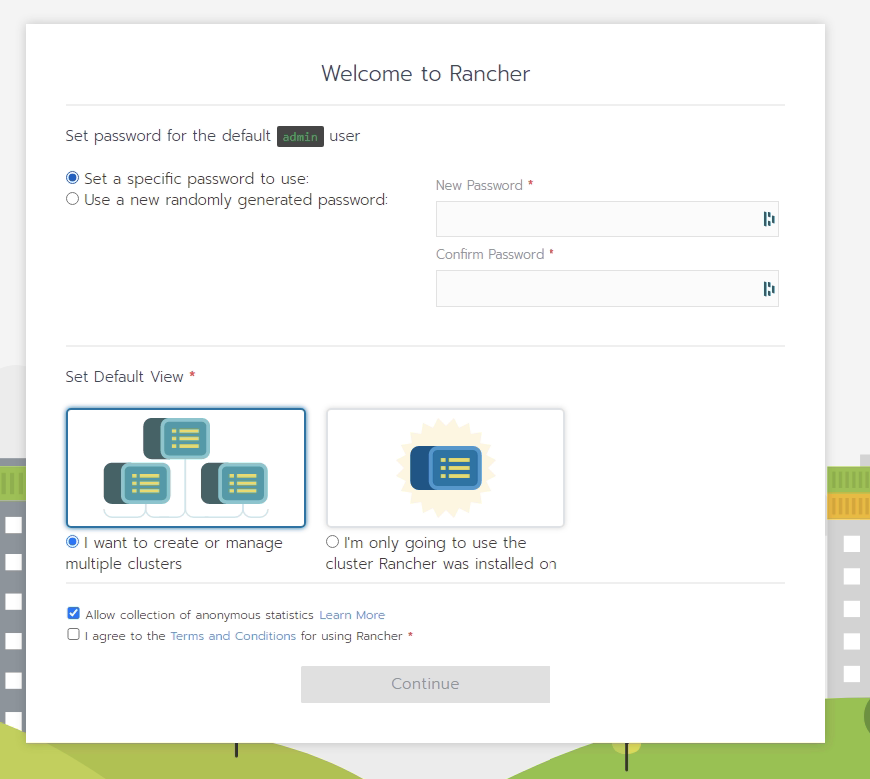
Onto configuring the Rancher, open up https://{yourhostname} in a browser and you will be greeted with the setup wizard. Enter your details and select continue.
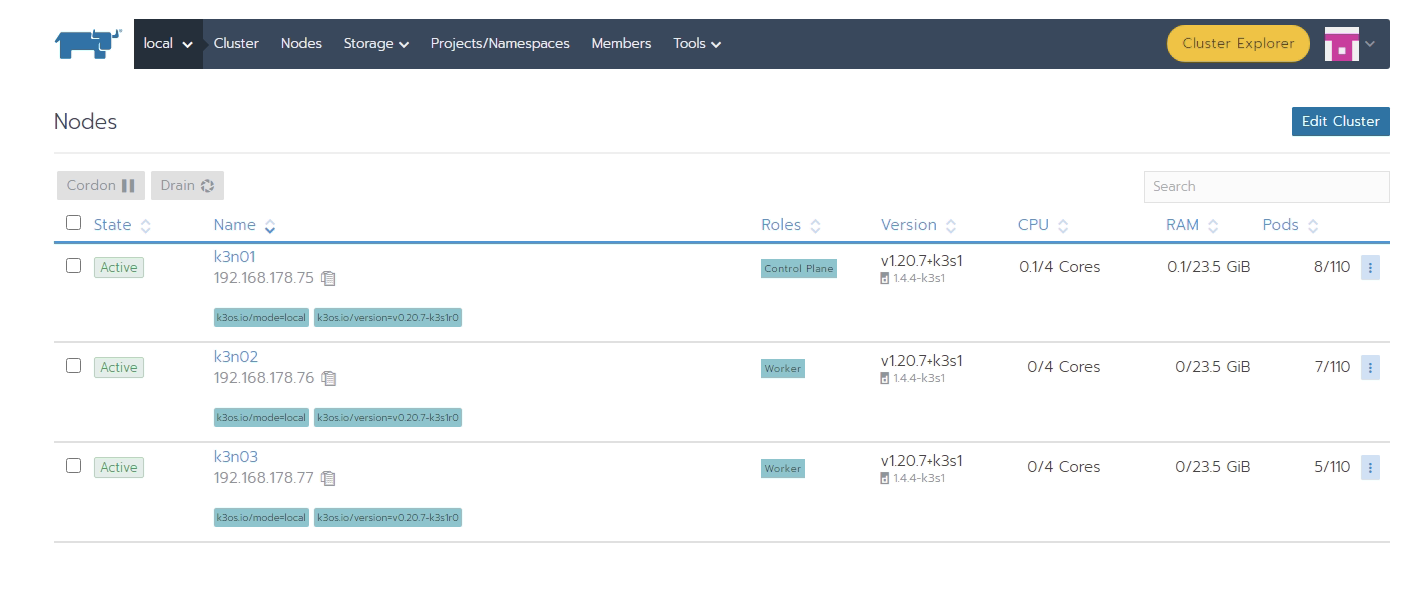
You will now be presented with the cluster manger and selecting the nodes menu option you can see your nodes are visible.
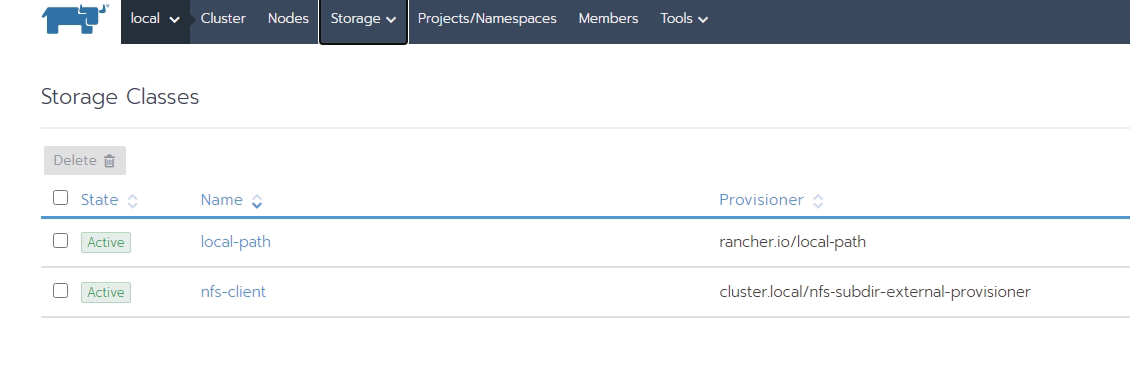
Under storage if you select Storage Classes you can see the NFS provisioner we created in the previous blog.
There is a new Cluster Explorer available too, to get to this select Cluster Explorer top right in the Manager
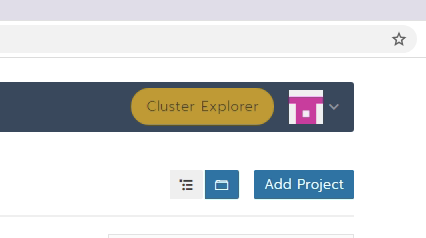
Then you will see more node information etc as well as a tonne more options including the ability to browser helm charts and install apps via the browser. Click on the little menu top left and select Apps and Marketplace.
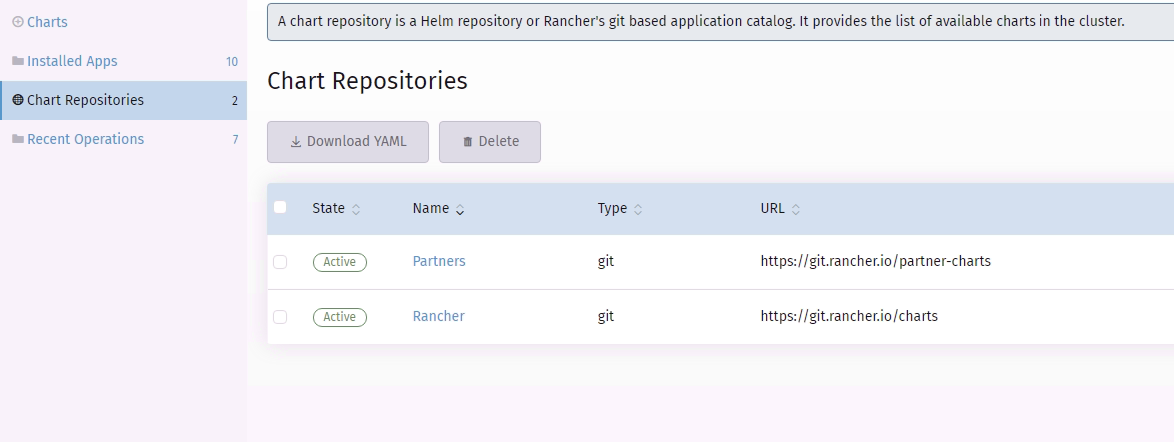
By default it only comes installed with the Rancher and Rancher Partners chart repository so the apps are limited, but you can easily add more. Let's add Bitnami.
Select Chart Repositories on the left and you can see the repositories that have been installed already.
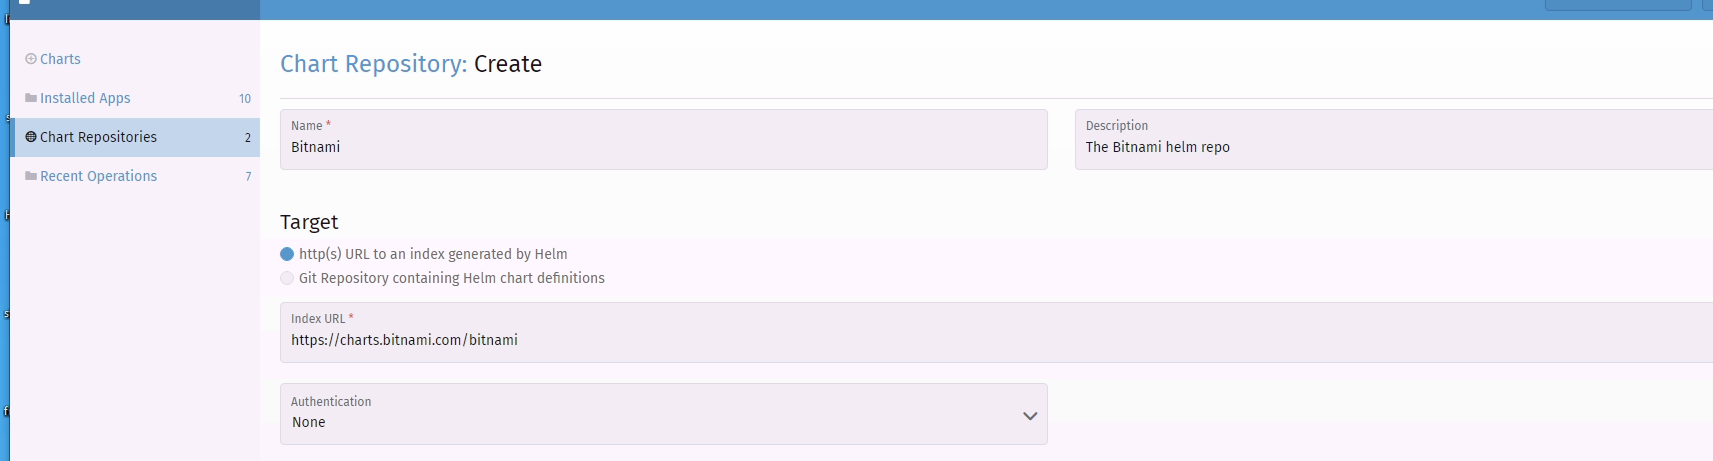
Click on Create and we want to enter in the target https://charts.bitnami.com/bitnami , not auth is required and the rest of the options are up to you.
The Cluster Explorer will now scan this repository and become active once this is complete.
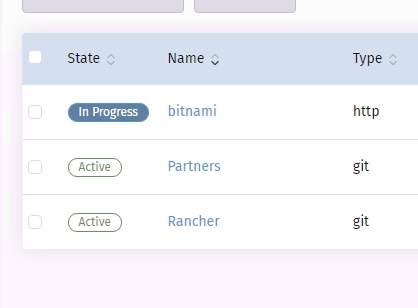
Clicking back on charts you can now see there are a tonne more charts ready to be installed!
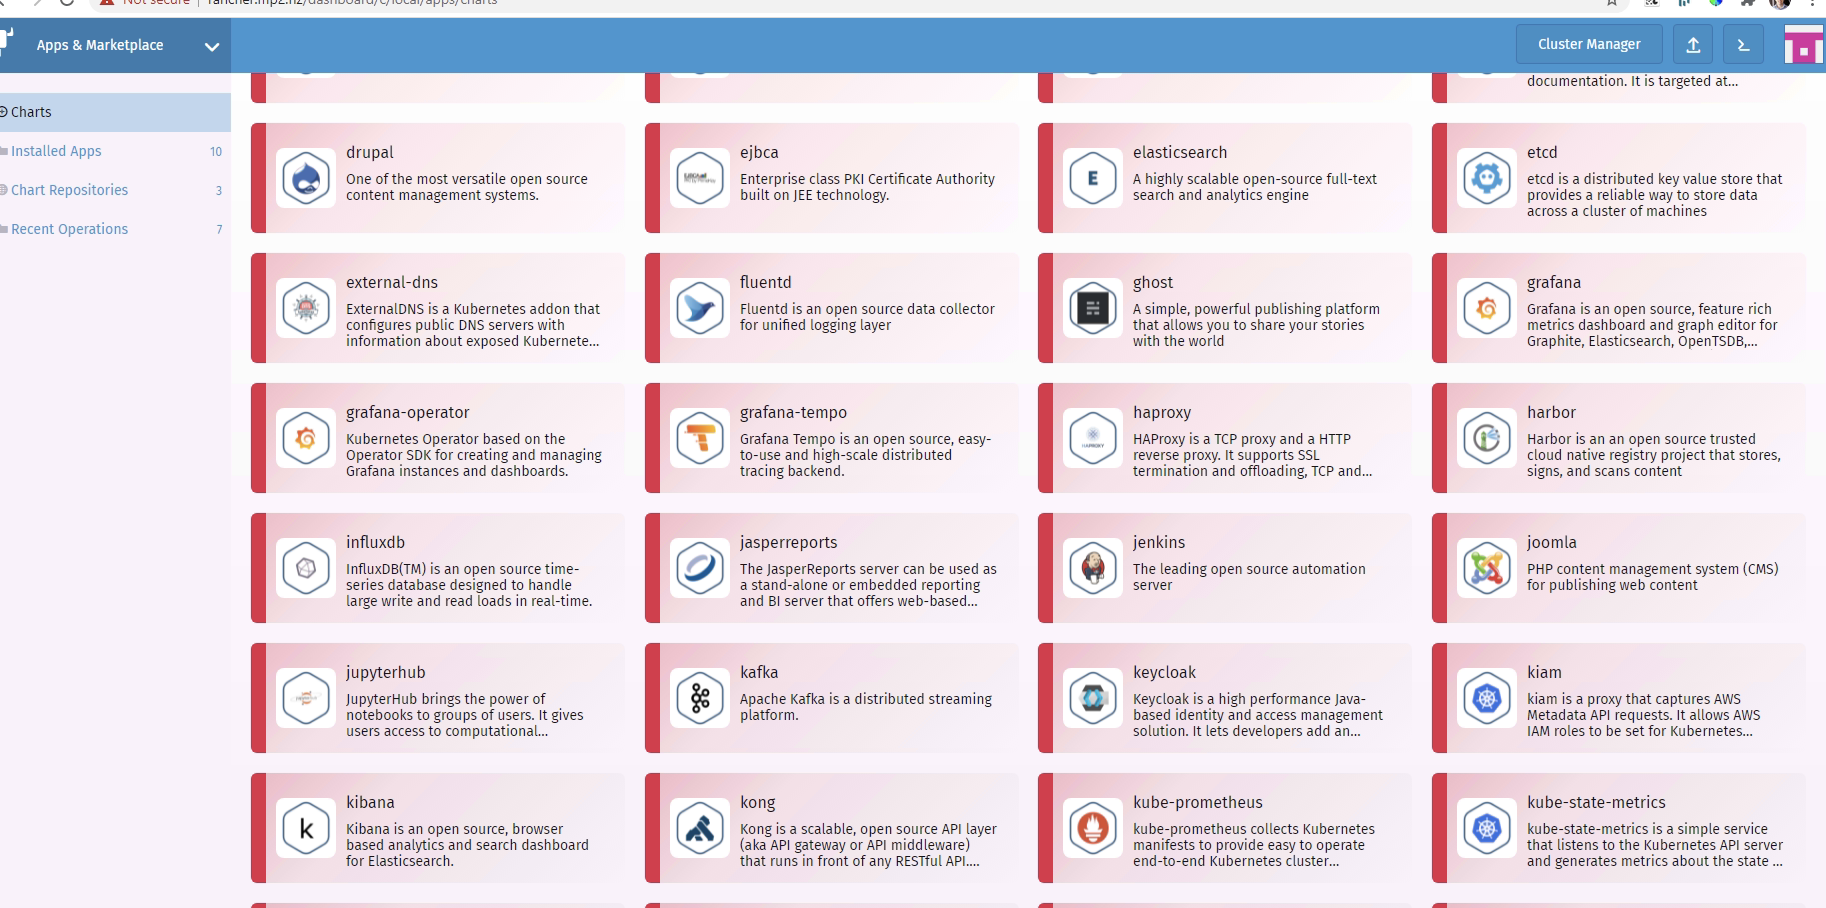
Let's do a classic hello-world and install the Nginx chart. Search for it in the list, I added in ingress.hostname of nginx-test.mp2.nz and enabled the ingress/certmanger.
Wait for it to deploy and you will then see an ingress under the Cluster Explorer (Service Discovery>Ingresses) pointing at your nginx service.

Provided you have the DNS setup, hit it in a browser;
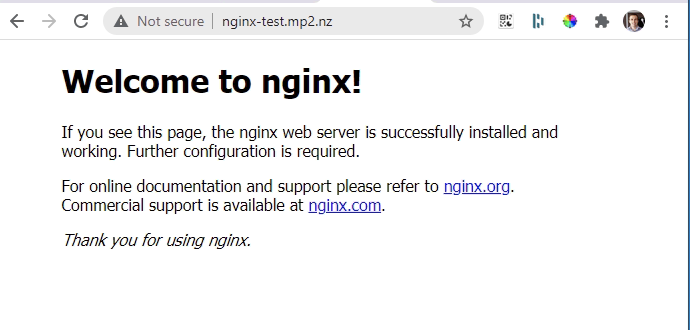
Neat, now we can go deploy some proper workload!
What next?
In a followup post I will show you how to
- Backup workloads using Veeam's Kasten suite
You can view the previous items in the series here
- Setting up the Kubernetes cluster with k3os, k3s and cloud-init
- Provisioning a Persistent storage class by Synology NFS
